Sweet & Spicy Red Pepper Jelly {homemade Christmas gift}

It is that time of year again! Christmas is fast approaching which means everyone is in a frantic panic to get all of their gifts shopped for, their homes decorated and their baking list made!
Paul and I decided many, many years ago not to exchange gifts and we were even able to convince our families that we didn’t need to exchange gifts either. Honestly, it takes so much pressure off this time of the year, no need to make lists of what to get, no flustered or frantic shopping trips needed, no worry about spending too much money or too little money on a gift, we have taken all of that out of the equation. It allows us to just enjoy this time of the year, eat some really, really good food, sit back and relax.
I do still like to give a little something to a few close friends and family, or have a hostess gift prepared for all of the holiday parties we attend this time of the year. So I always take a day or two to prepare a homemade gift that I can give. People always love getting it, and it is something I look forward to gifting and making each year. So much thought and time goes into these ideas that I think people really appreciate them even though they are not big nor do they cost that much money. It truly is the thought that counts with these gifts and I think that somehow over the years that has gone to the wayside when it comes time to the holidays.
Here is a little round up of past gift ideas for you to make:
Sweet and Spicy Mini jars of Sugared Ginger
Relaxing and Rejuvenating homemade Herbal Face Steam
Melt in your mouth White Chocolate & Pistachio & Pomegranate Bark
This year’s contribution to the list is one of my favourites. Actually my Momma gave me this idea. She started making this delicious, sweet and spicy pepper jelly many, many years ago with a friend of hers and I became obsessed instantly. Then one year when Paul and I were away in India her and my best friend made up a batch and I remember being so jealous of their kitchen fun while being away that this year I decided it was MY turn to be there for the fun.
Over the years I have given away jars and jars of this stuff to friends and co-workers and everyone that gets a jar falls in love instantly. I have been asked so many times for a recipe and finally this year I have gotten around to making it myself, well the the help of my Momma and bestie again, we made a large batch and have been passing it around the masses. And, as in past experiences, everyone once again is asking for the recipe, so hallelujah this year I can send them a link with their jar.
Now, canning seems a bit intimidating to start with but once you get going it is actually quite easy and really, really rewarding at the end of the day. My Mom taught me a couple of tricks that my Grandma taught her when they used to can together which I will lay out below so that your canning experience is as easy and flawless as can be.
Canning Tips
Make sure your jars are as sterile and clean and dry as possible! I washed all of the jars in the dishwasher prior to canning and let them air dry overnight so they were ready for our big day. You will also want to boil the lids of the jars for at least 10 minutes the day of canning. Then let them air-dry while you are getting everything ready.
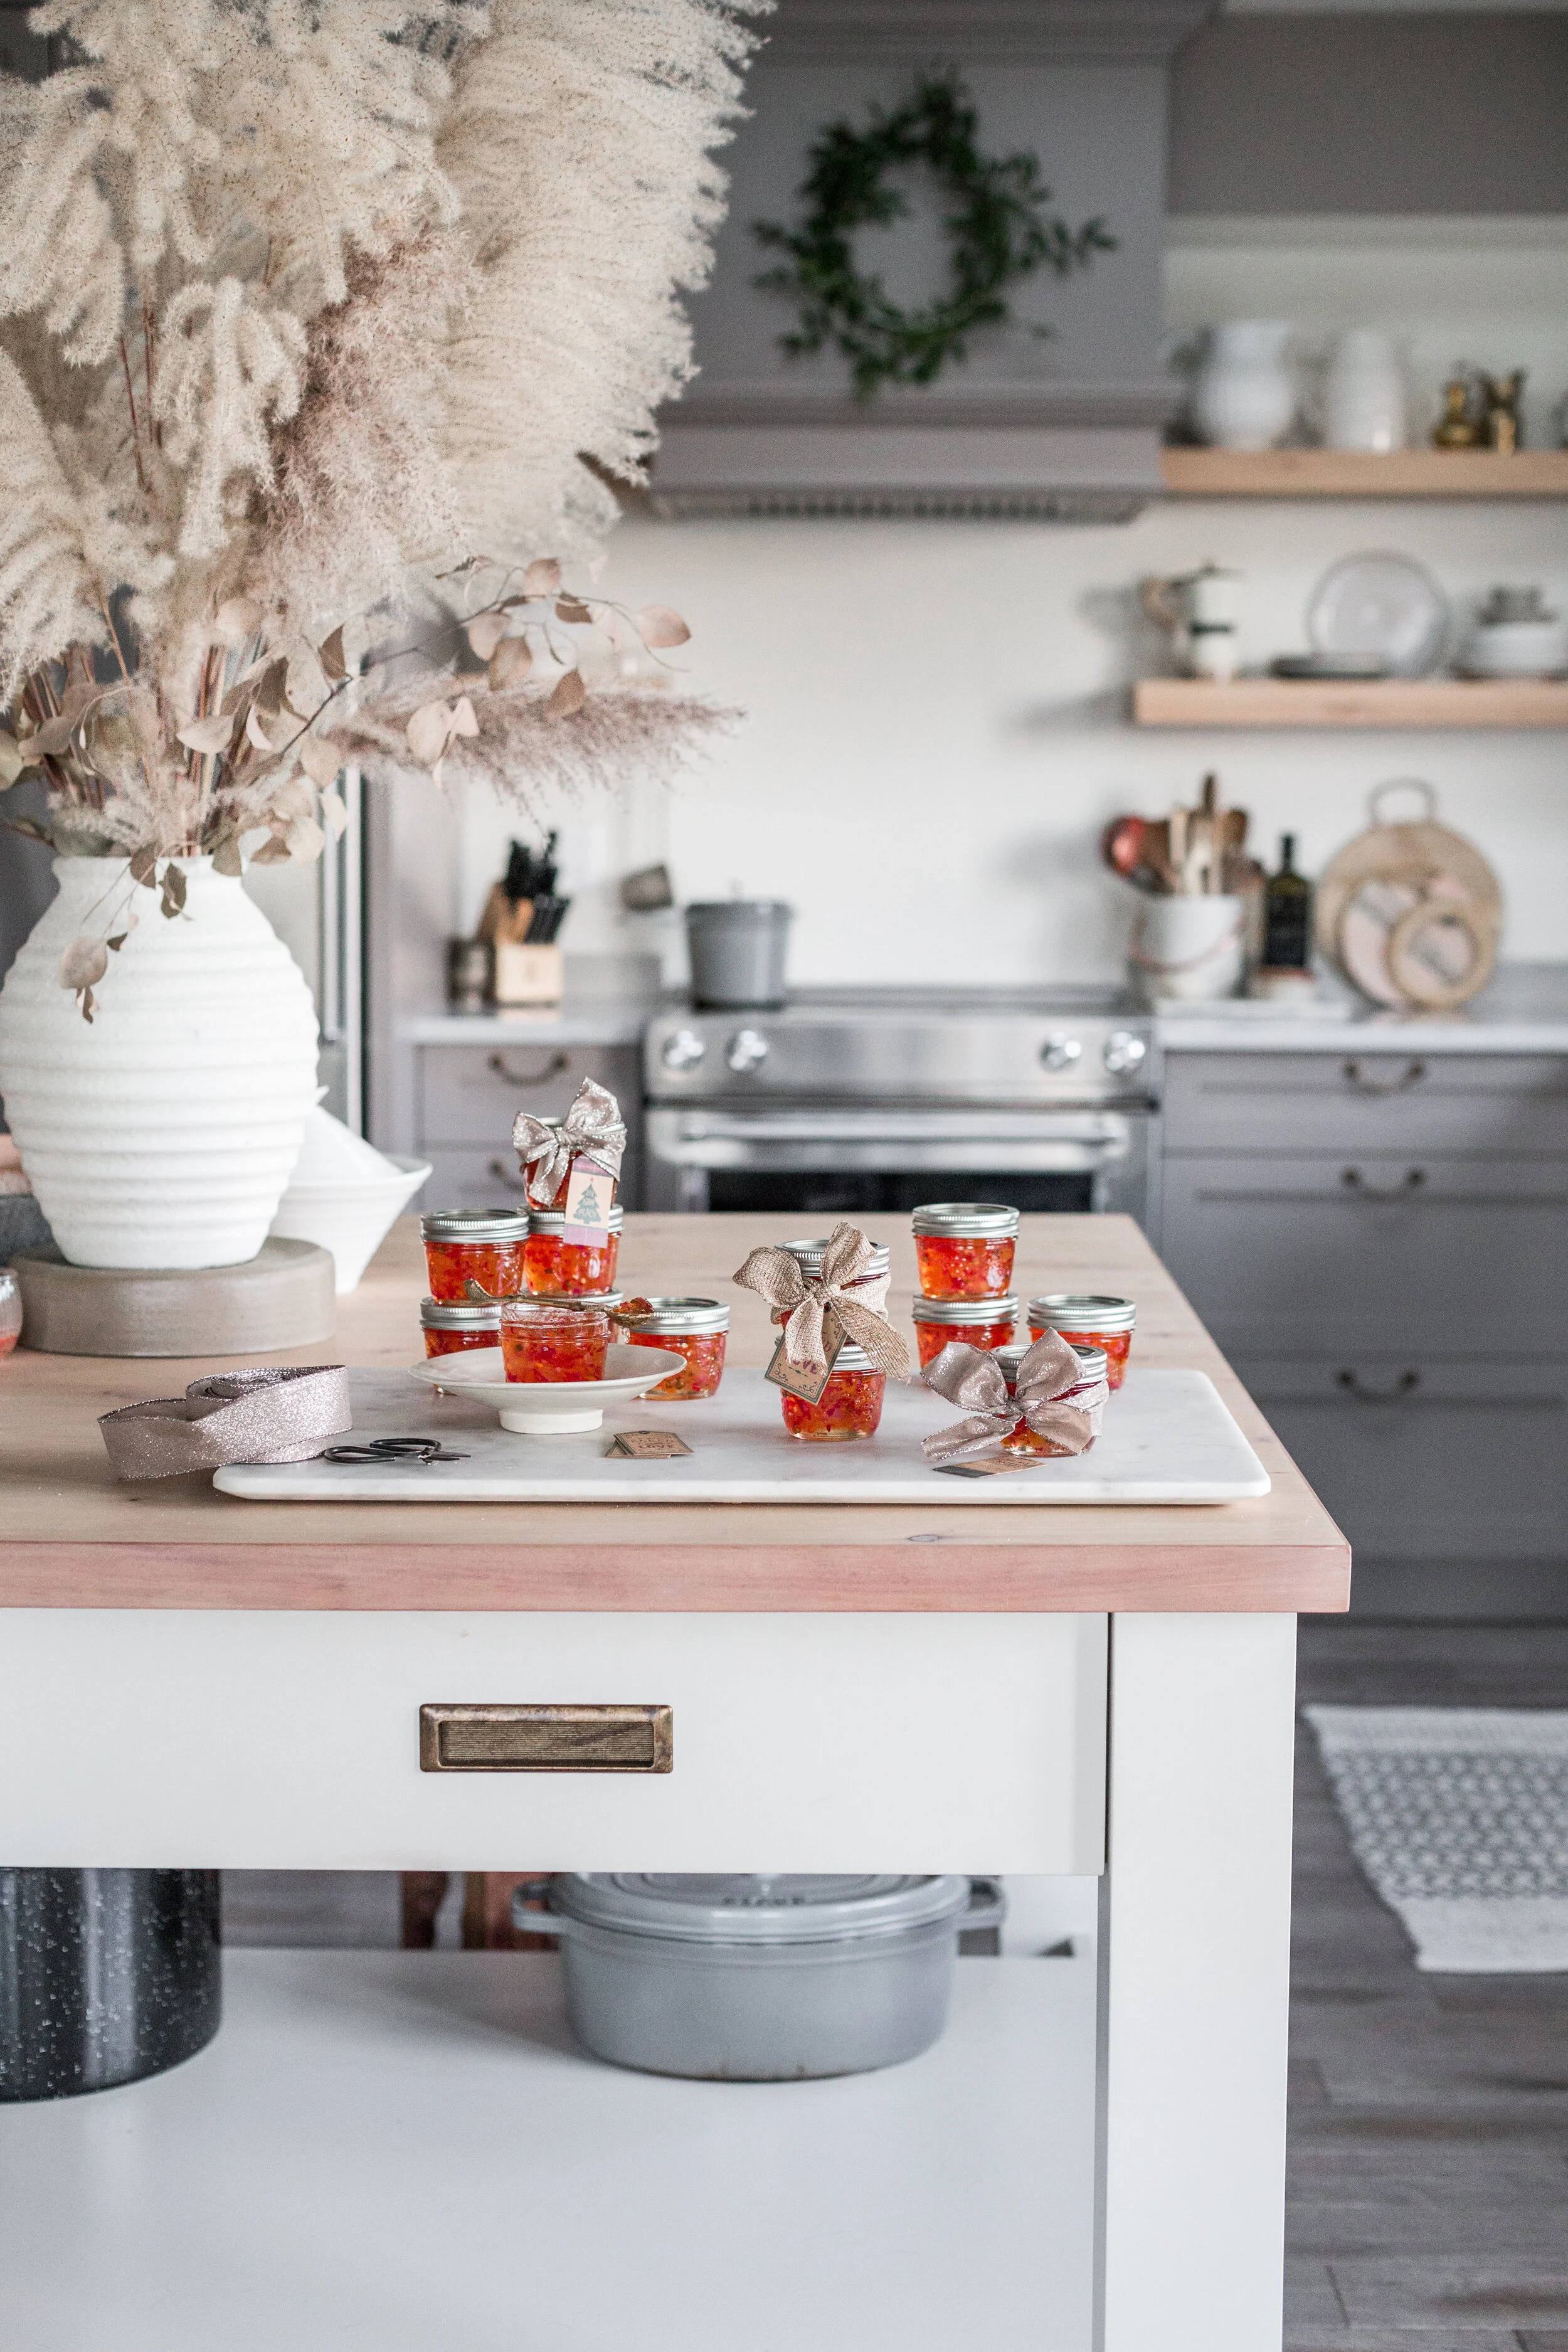
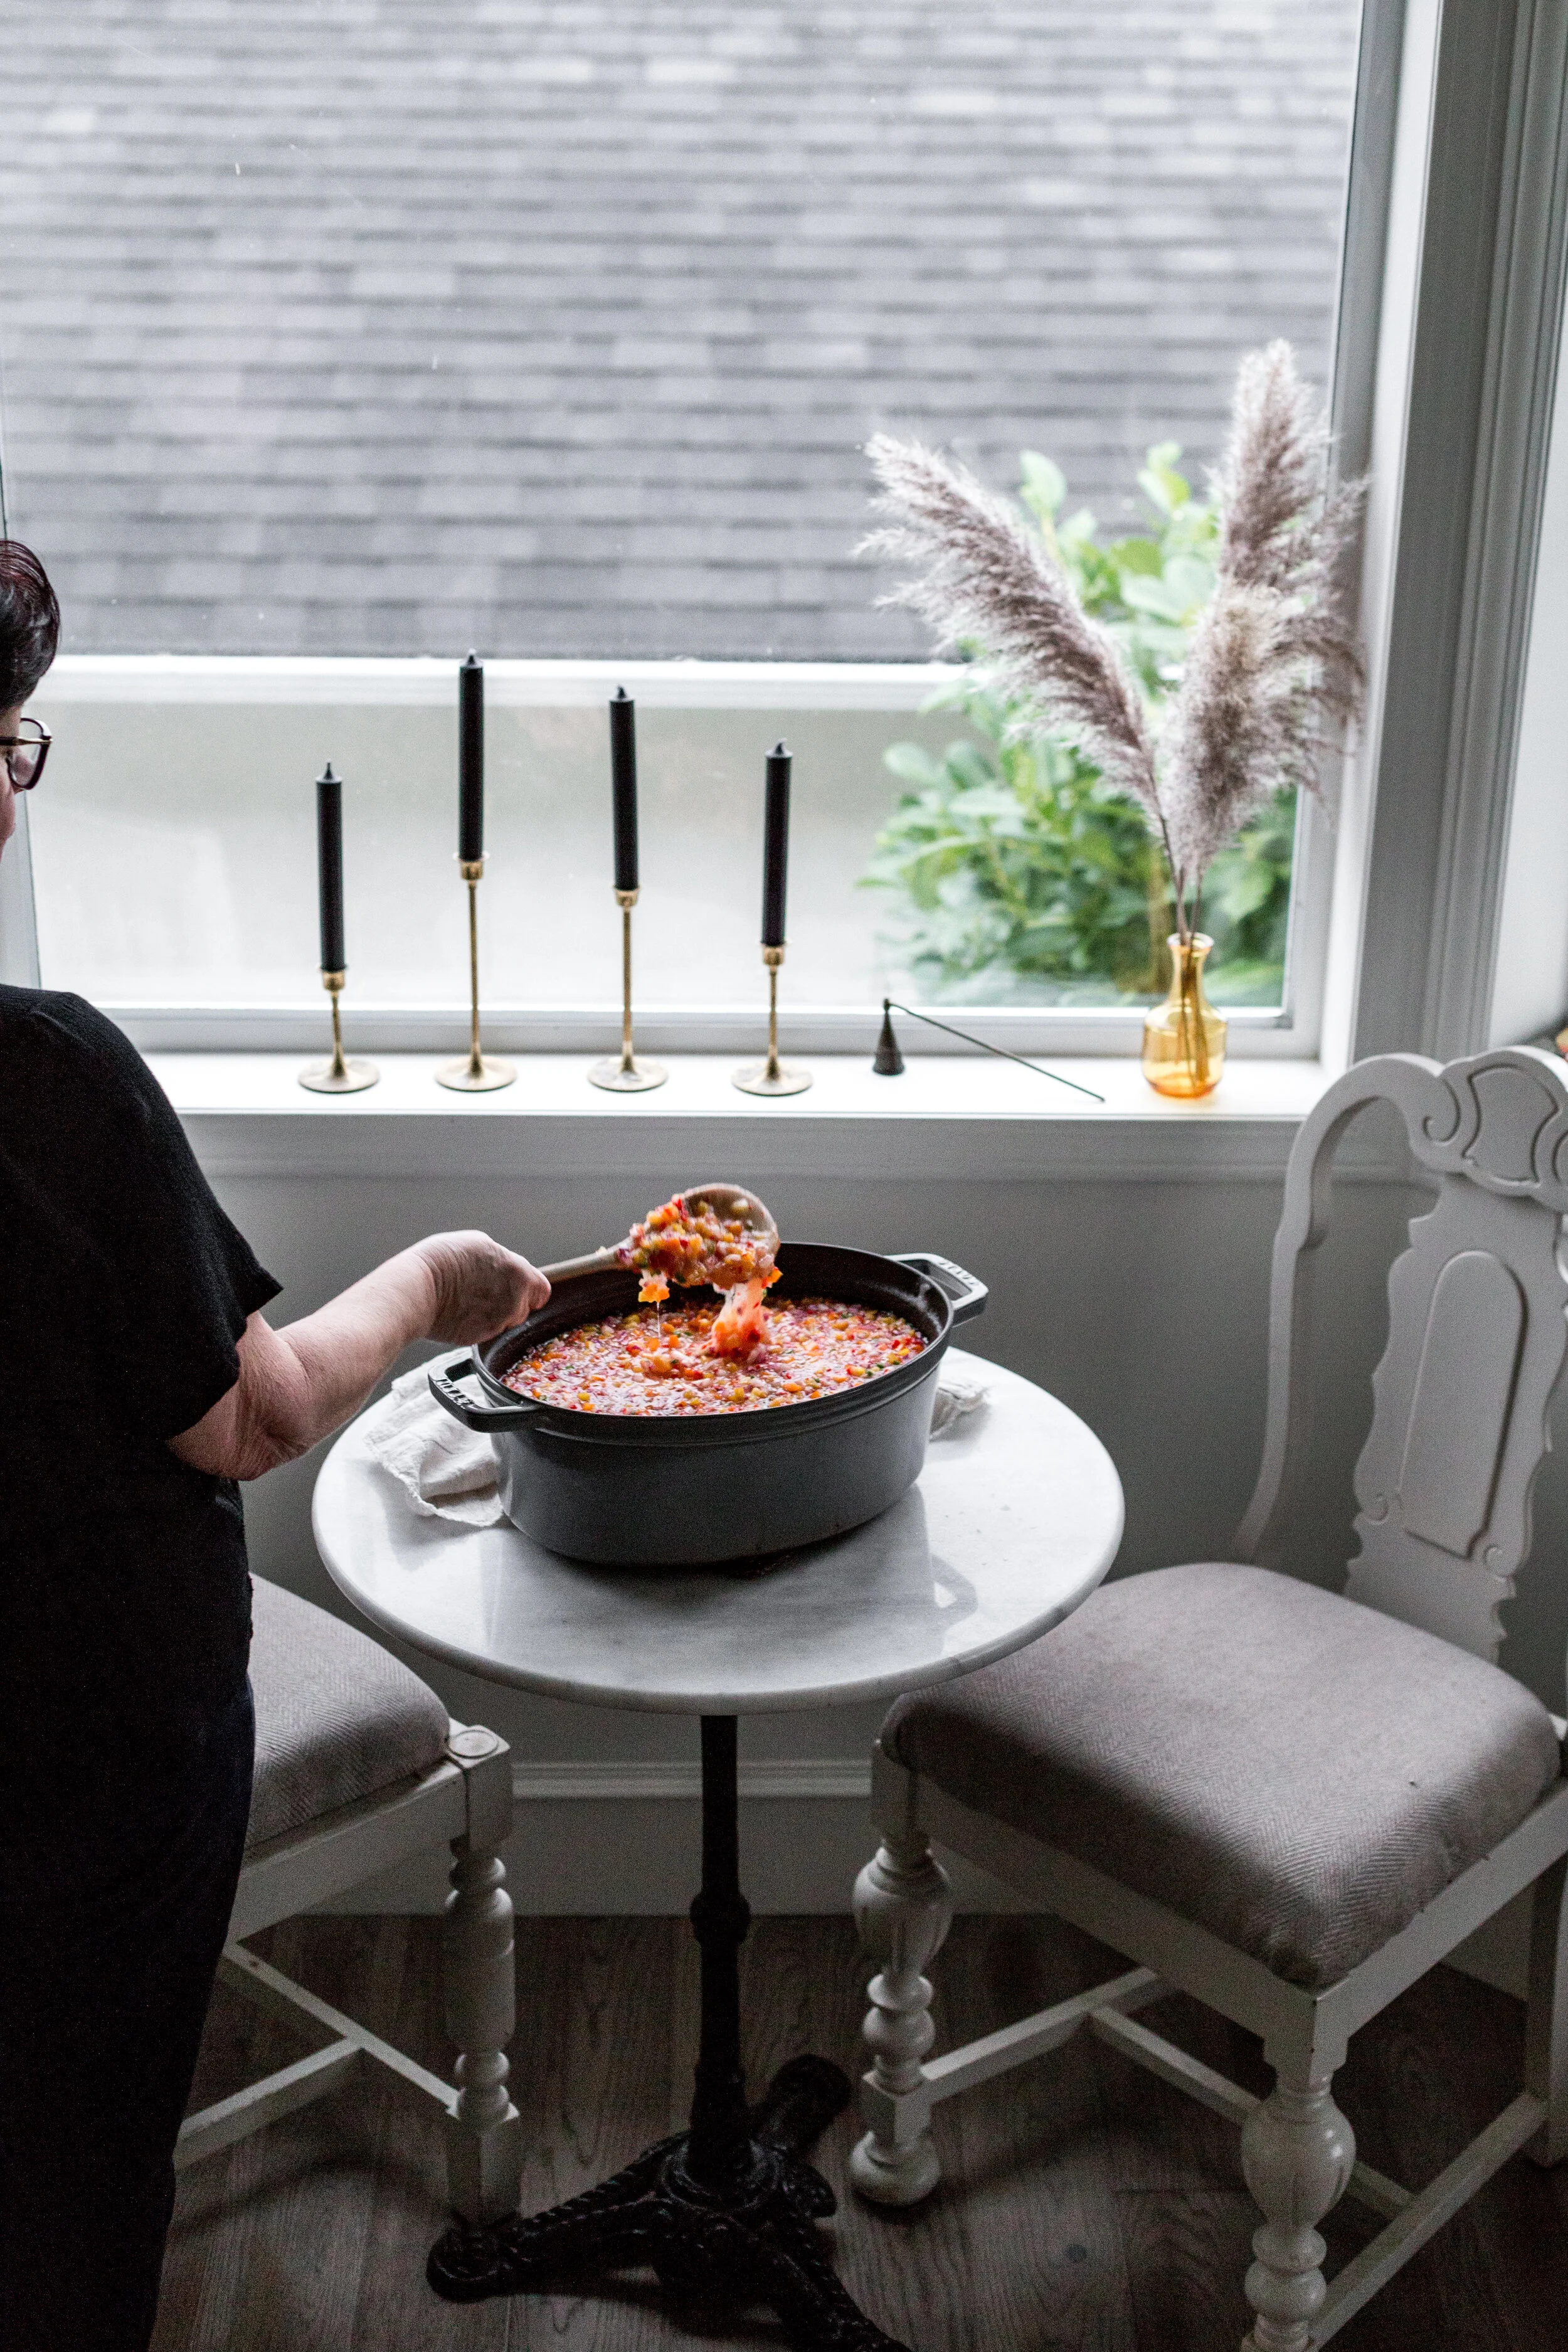
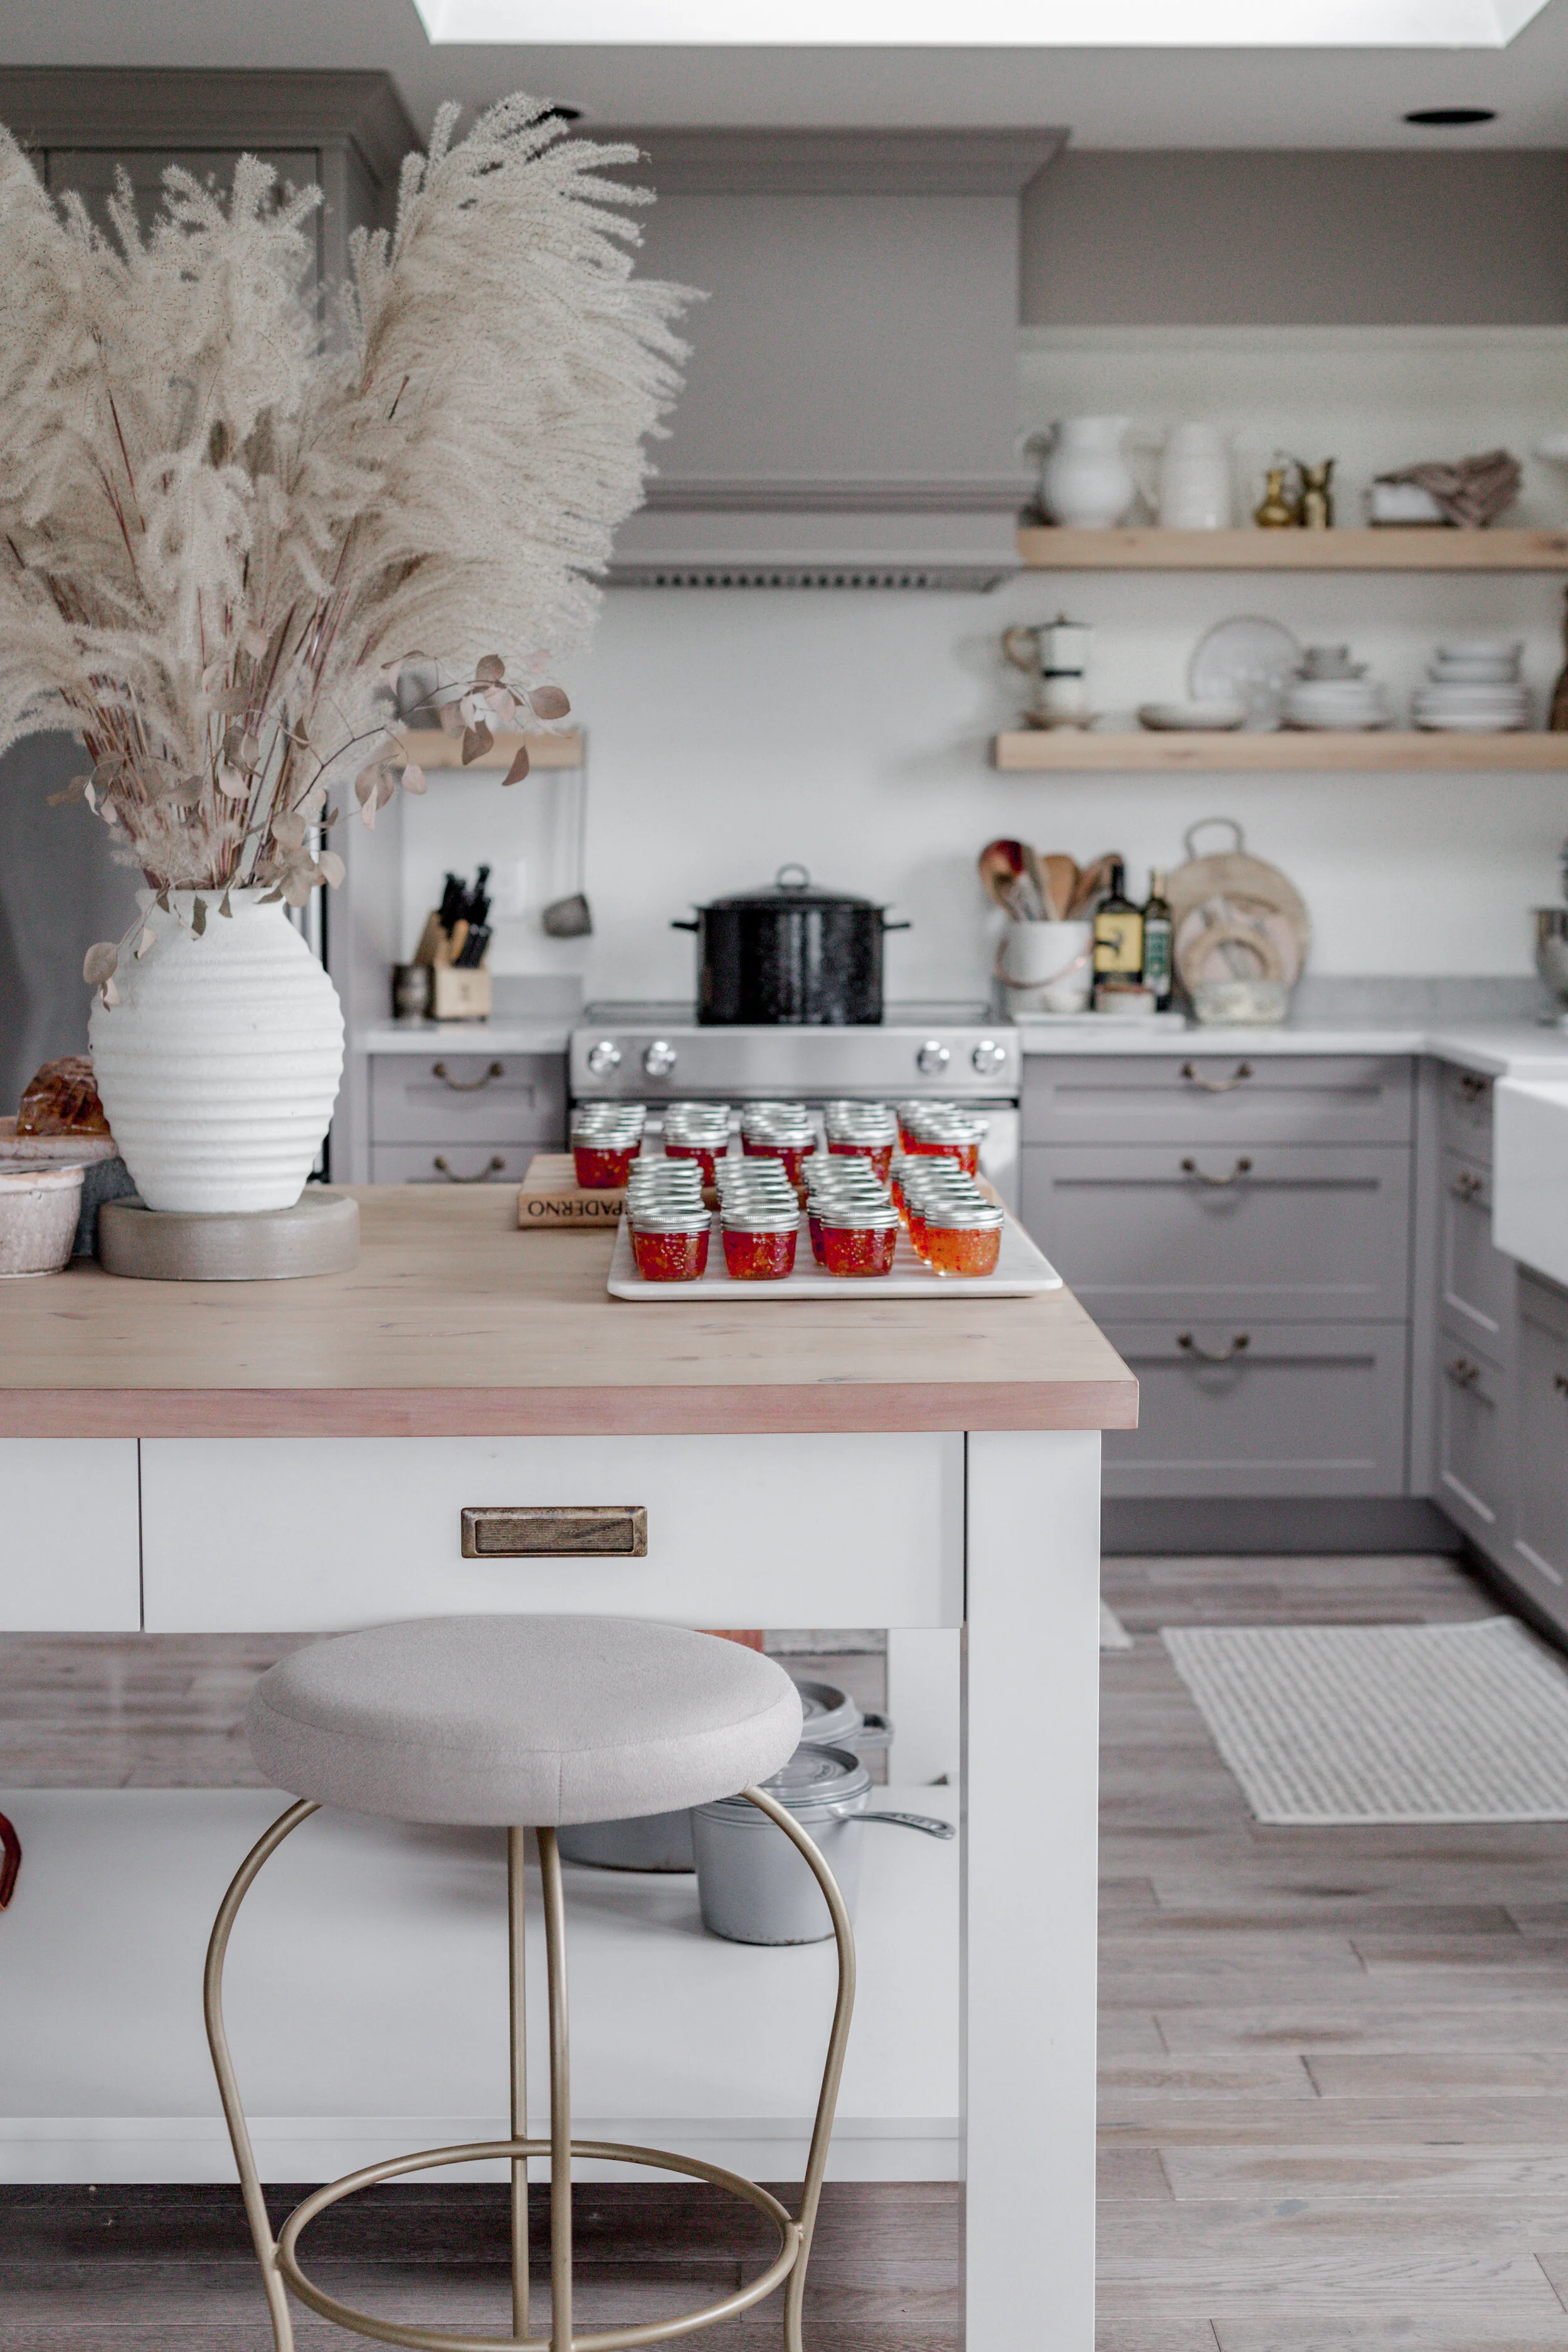
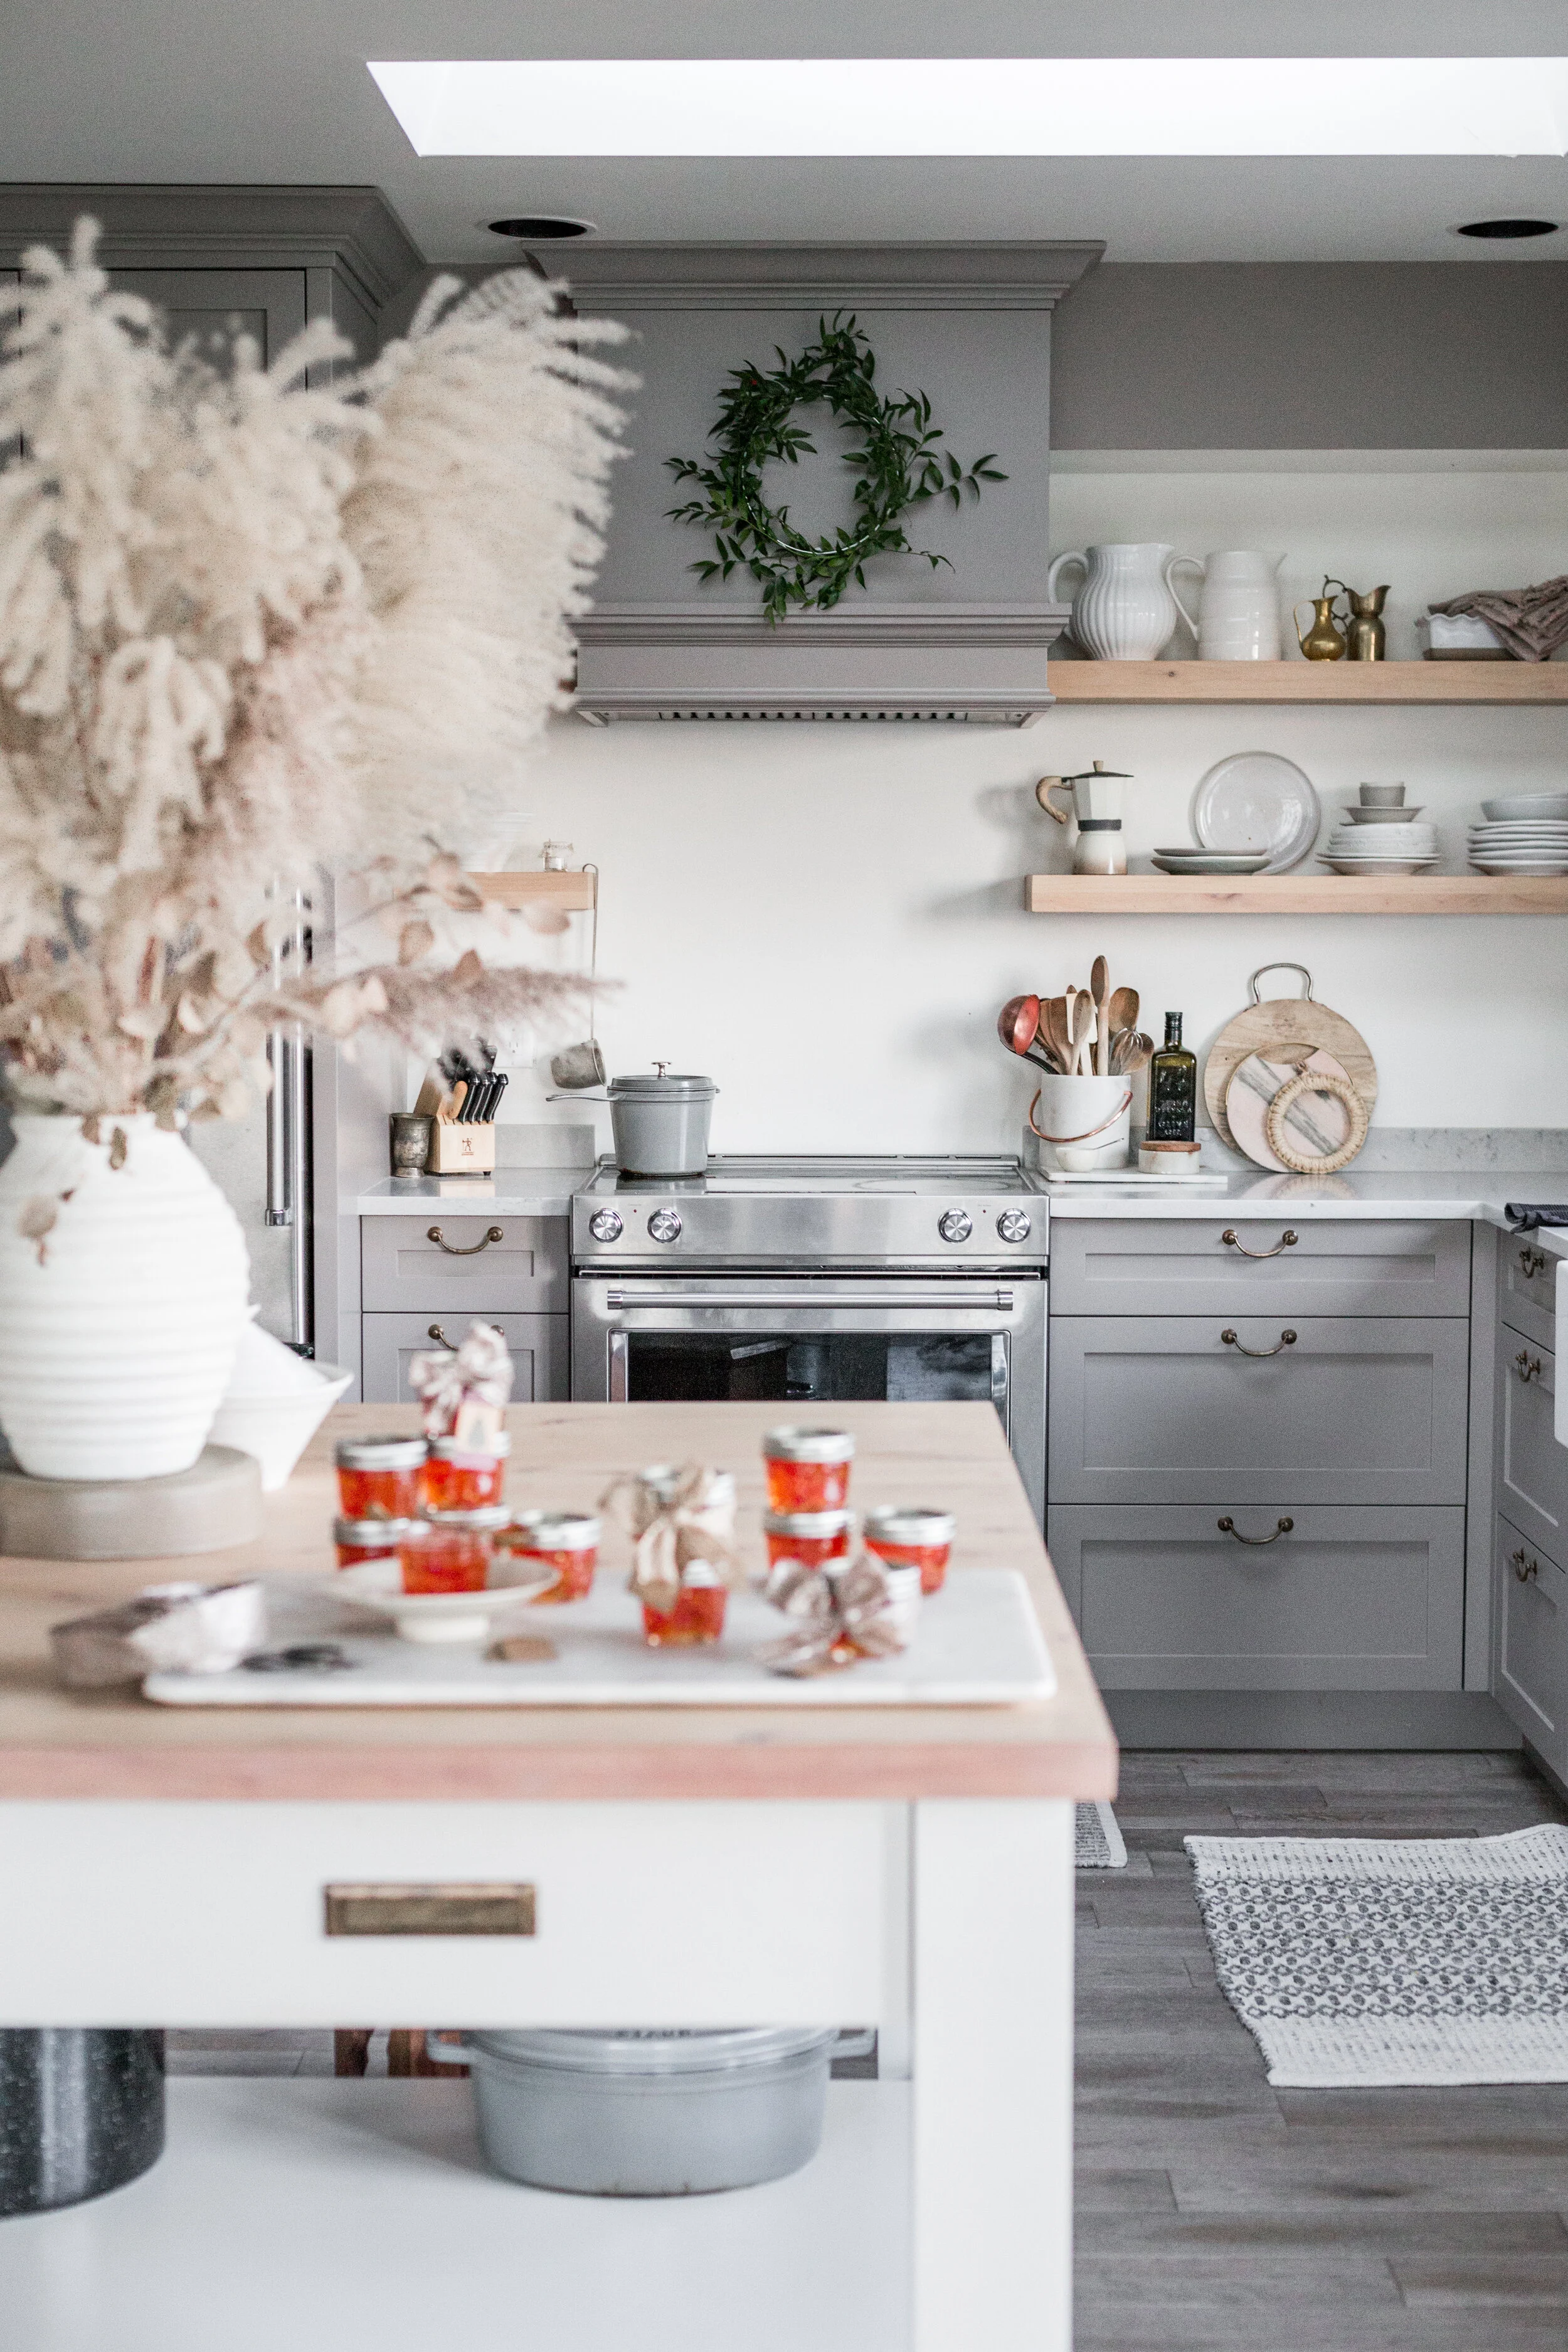
A large canning pot makes this job so much easier (see large black canner in the above kitchen photo)! I highly recommend investing in one. Along with the canning tools. They are quite inexpensive and will make your day go by much smoother. This is the canning pot I have and the tools I have.
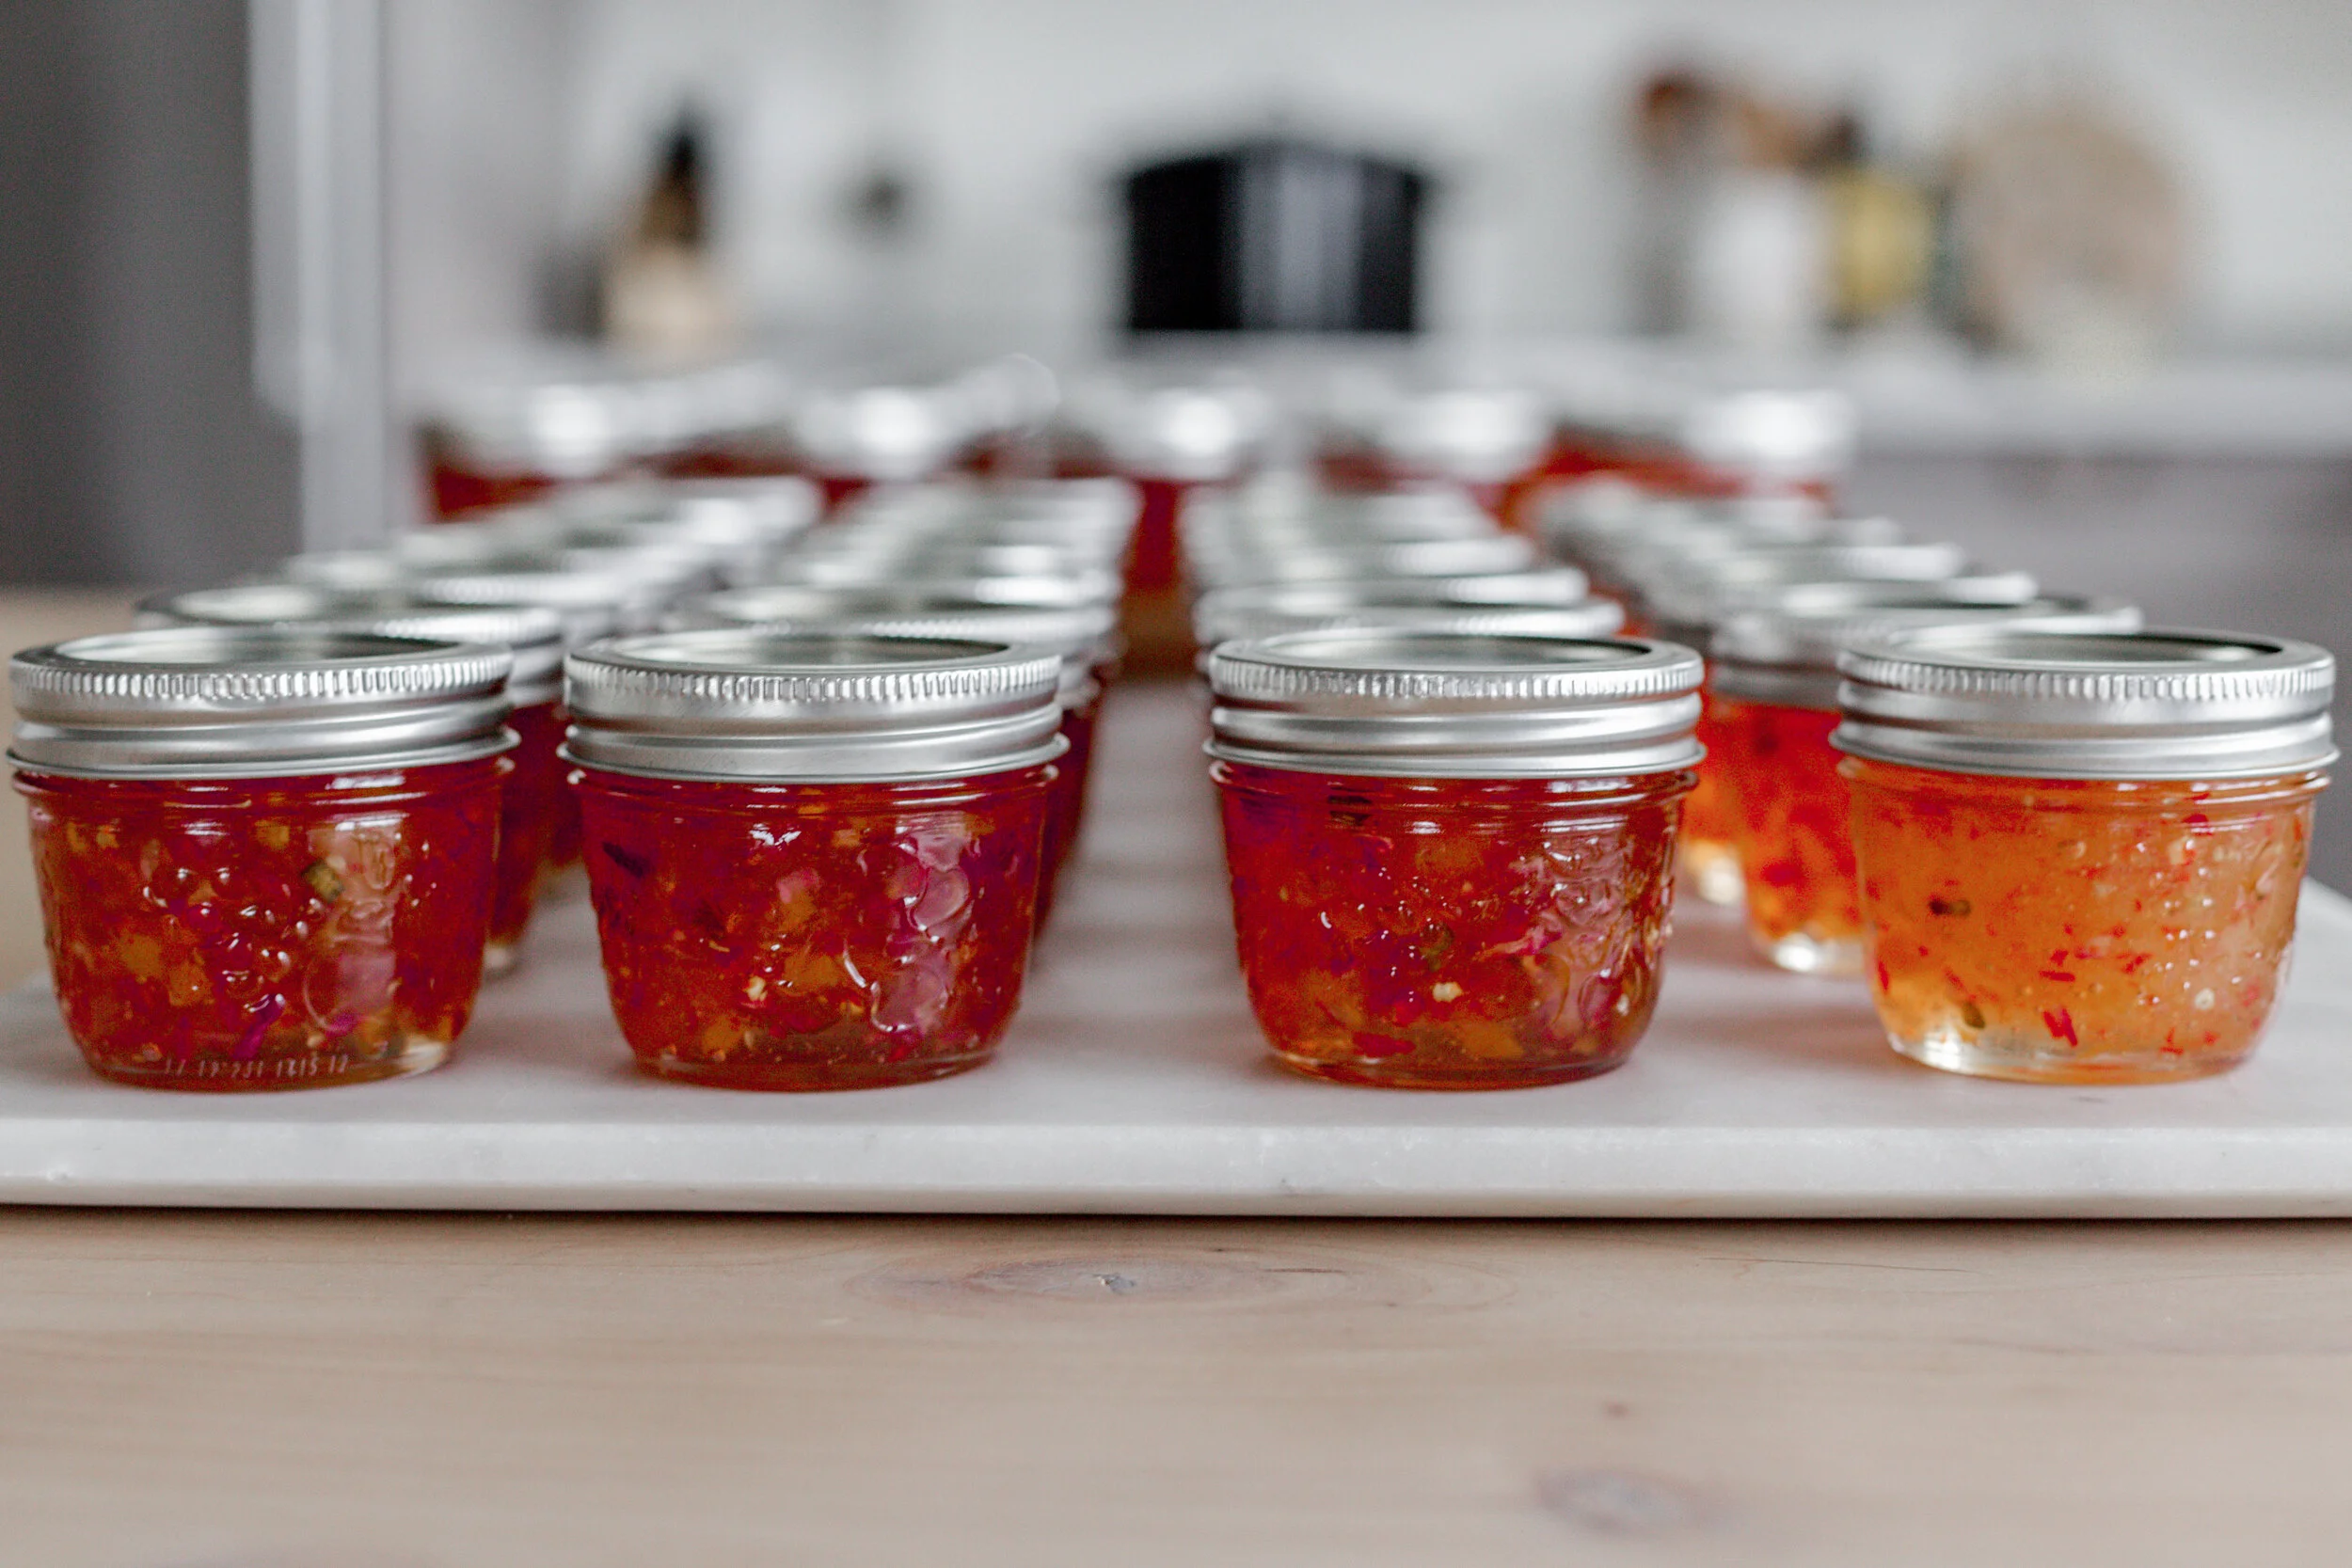
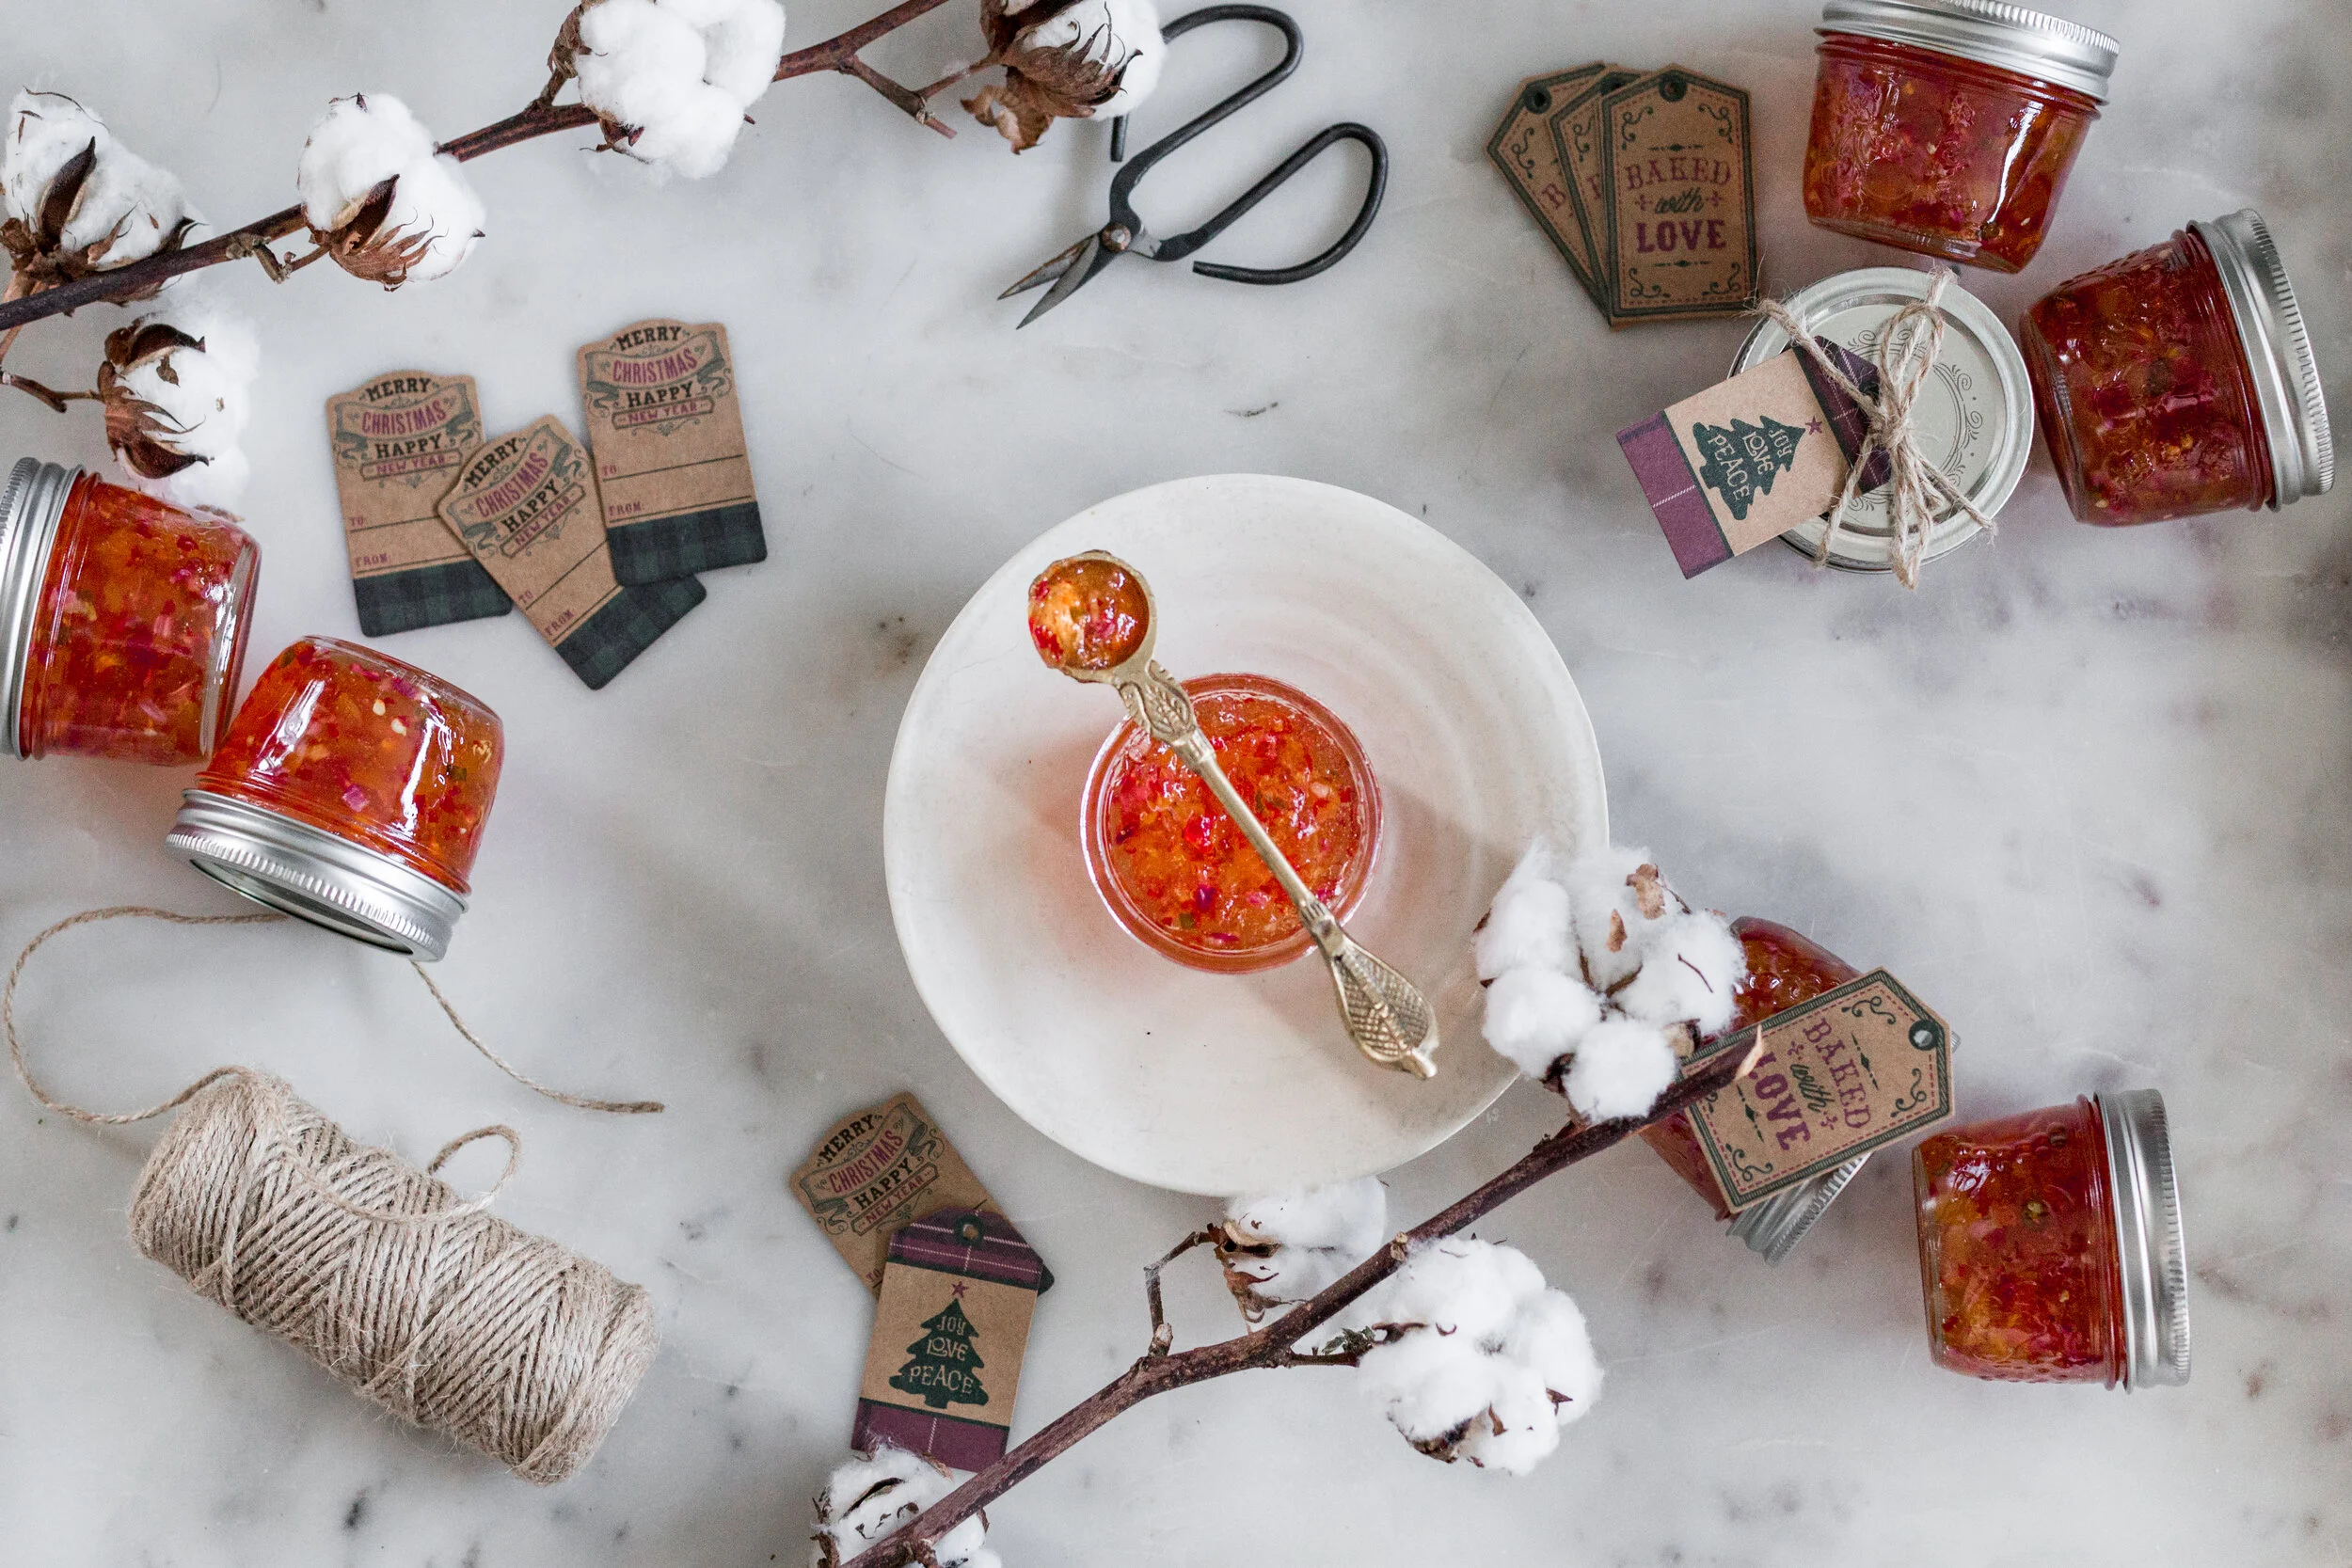
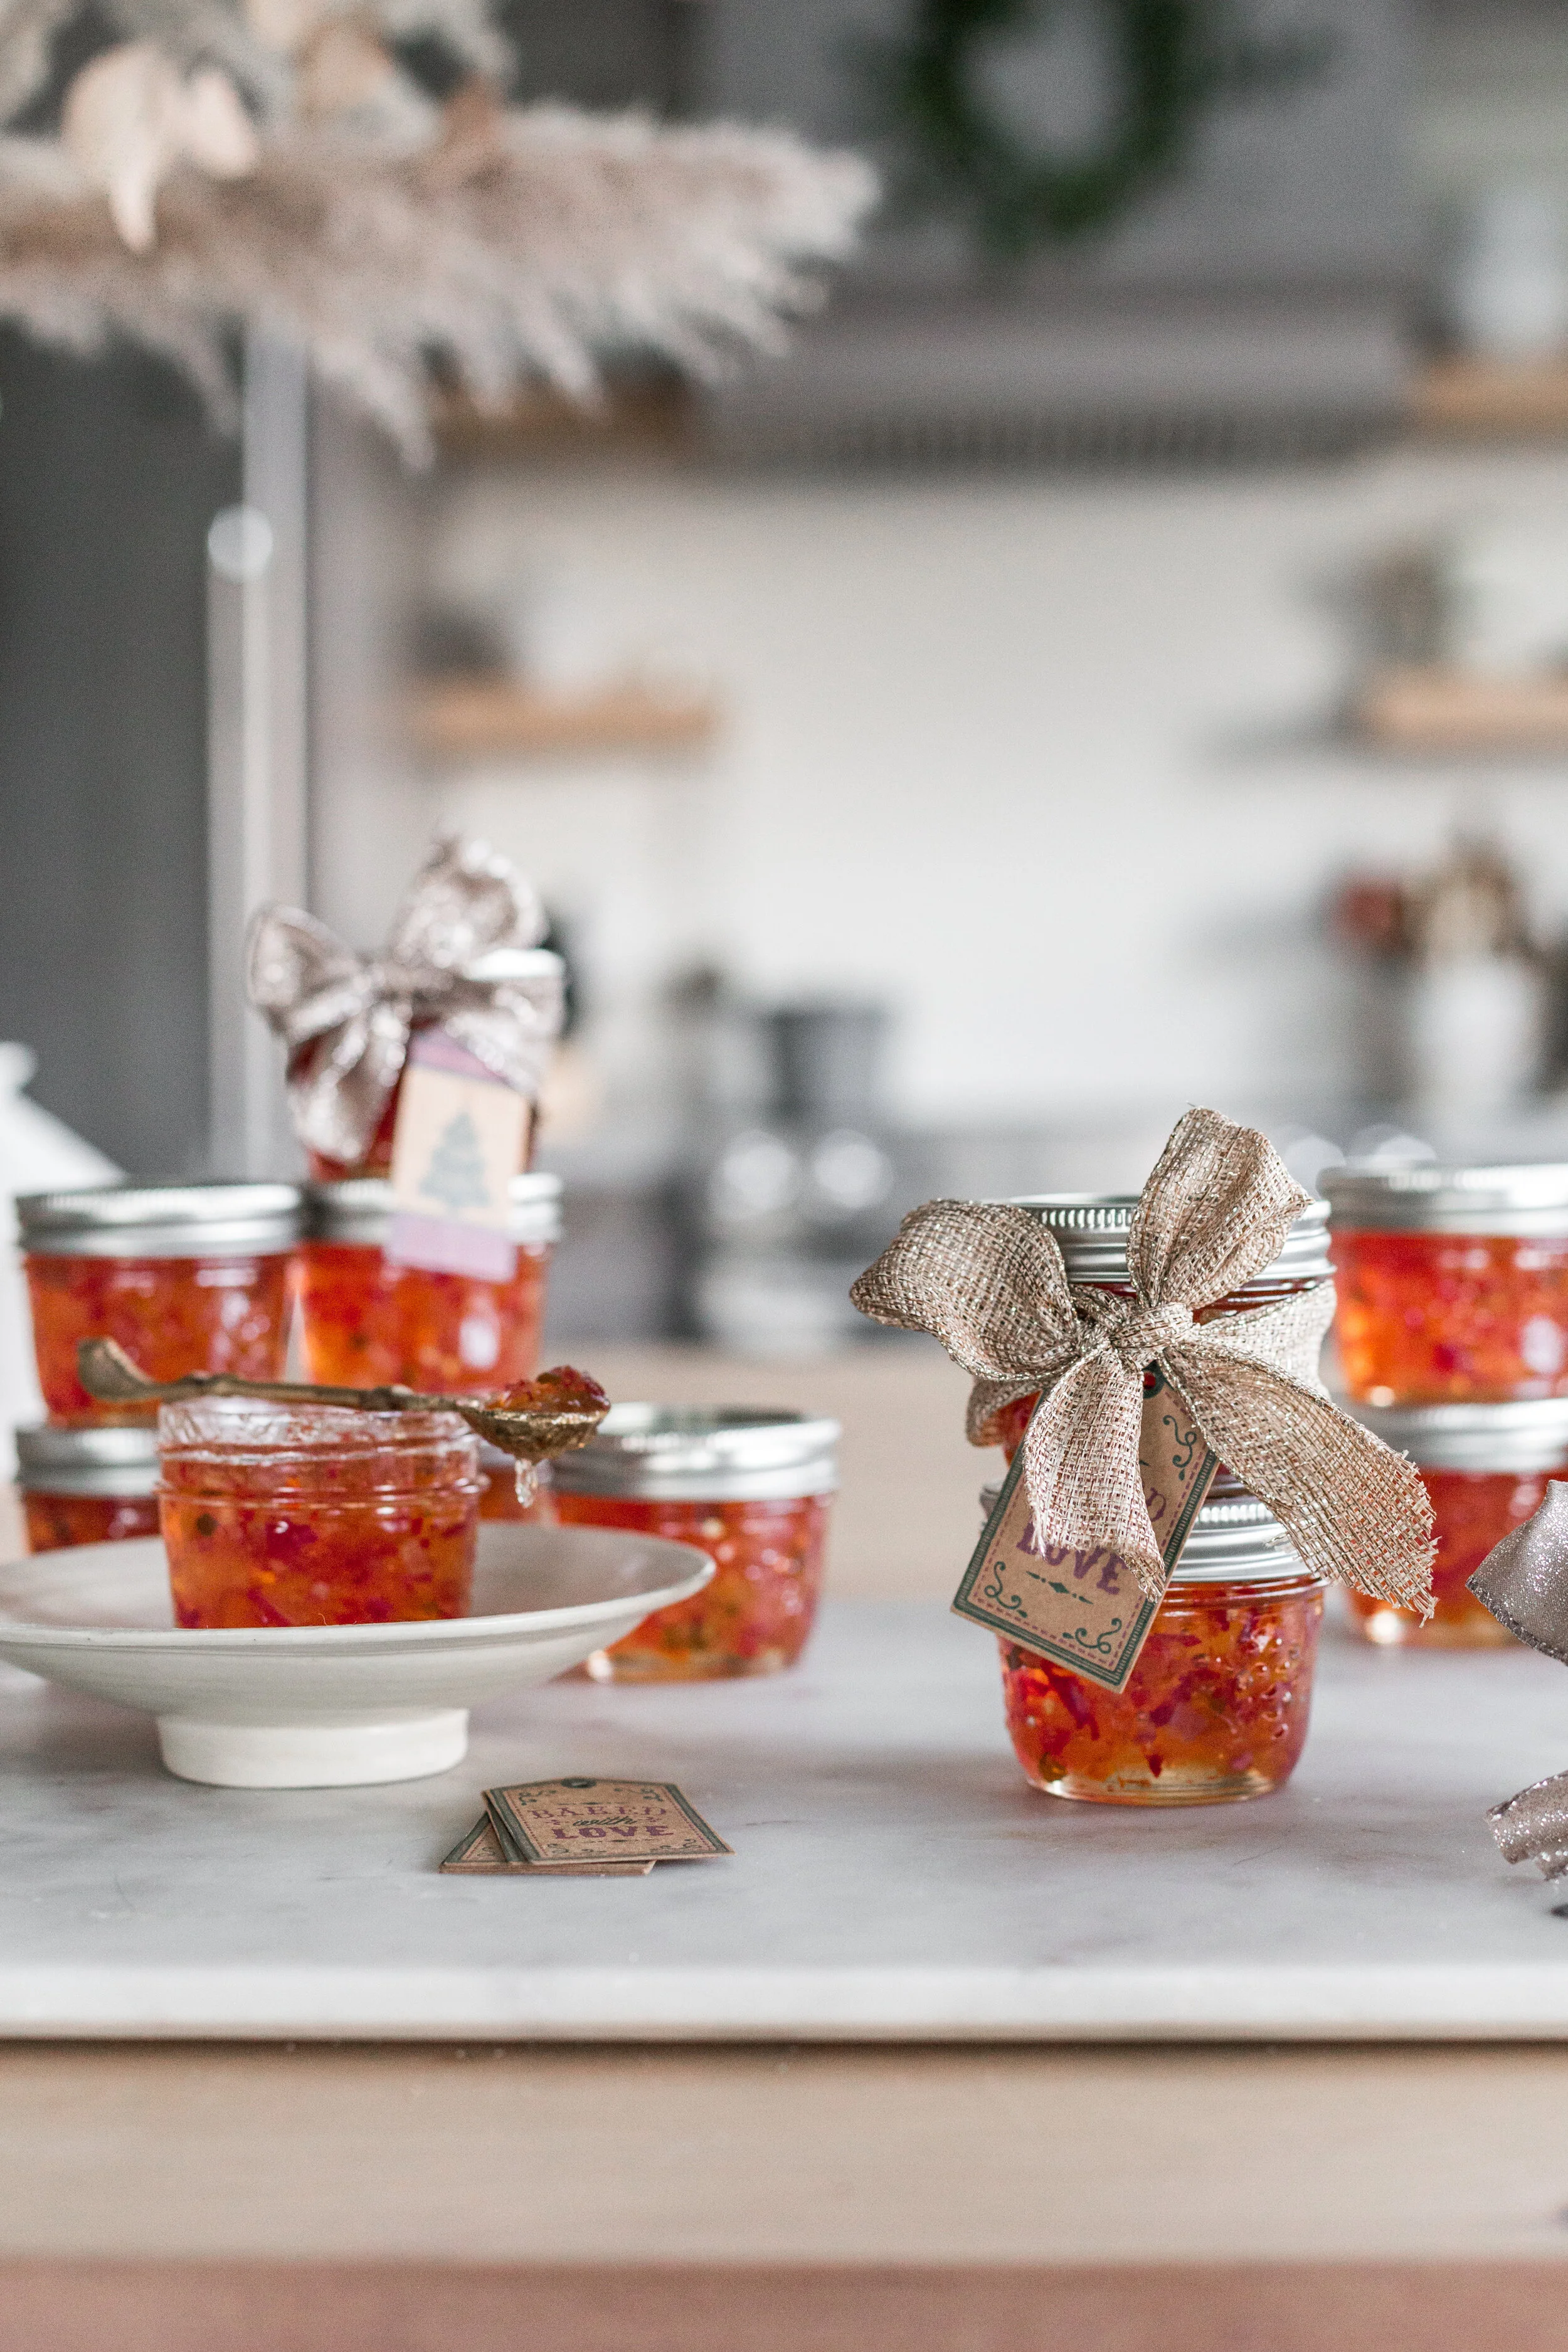
Jars, you will need jars. We used these 125 ml jars, which make a great size for serving this jelly and they look pretty darn cute too. Any size jar would work though.
Once you are ready to can, the biggest thing is that the jars are sterile, clean and dry! If they are not dry and clean then your cans may not seal properly which is never fun to have to re-do. So making sure to do step 1 is very important. Once you have your glass jars filled with your jelly (or whatever it is you might be canning) make sure to WIPE the top of the rim CLEAN, and make sure your lids are DRY and CLEAN prior to twisting around the jar.
An assembly line at step 4 is always a good idea. My Mom filled the jars with the jelly, I wiped the rims of the glass jars and my bestie made sure the lids were clean, dry and twisted on properly.
The next step is to seal the jars. It is important to have your canner filled with water at a rolling boil prior to adding your jars. You want the water about 1-2 inches above the jars once they are placed in. Then you will let them boil for 15 minutes.
Once they have boiled for the 15 minutes, take them out of the water and let cool on a drying rack. You should start to hear the lids pop about 20-30 minutes later. I leave them overnight and by the next morning all the lids should have popped and sealed!
IF by chance your lids have not sealed, this did happen to a few of ours this year, even with our due diligence (I think when it came round to the last batch of jars the water was not quite rolling anymore), you will want to take all the lids off, re boil them, clean the rims of the glass jars really well (wiping with a wet cloth, then drying them) and then re-boiling the jars with lids on. It is annoying and a bit of a process when it happens but if you make sure the water is rolling and stays at a consistent temperature you shouldn’t have to worry about this step!
HAVE FUN!! Canning may seem a bit intimidating but gather a couple of friends or family members and make an afternoon about it. Drink some wine, eat some nibbles, give everyone a job on the assembly line and you will be dreaming of all the future canning projects in no time! My bestie and I have already started a list of everything we want to can this winter, spring and summer!
Good-luck! May the canning gods be with you. K, I don’t even know where that came from, I don’t even think I have seen Star Wars before, but it felt appropriate!
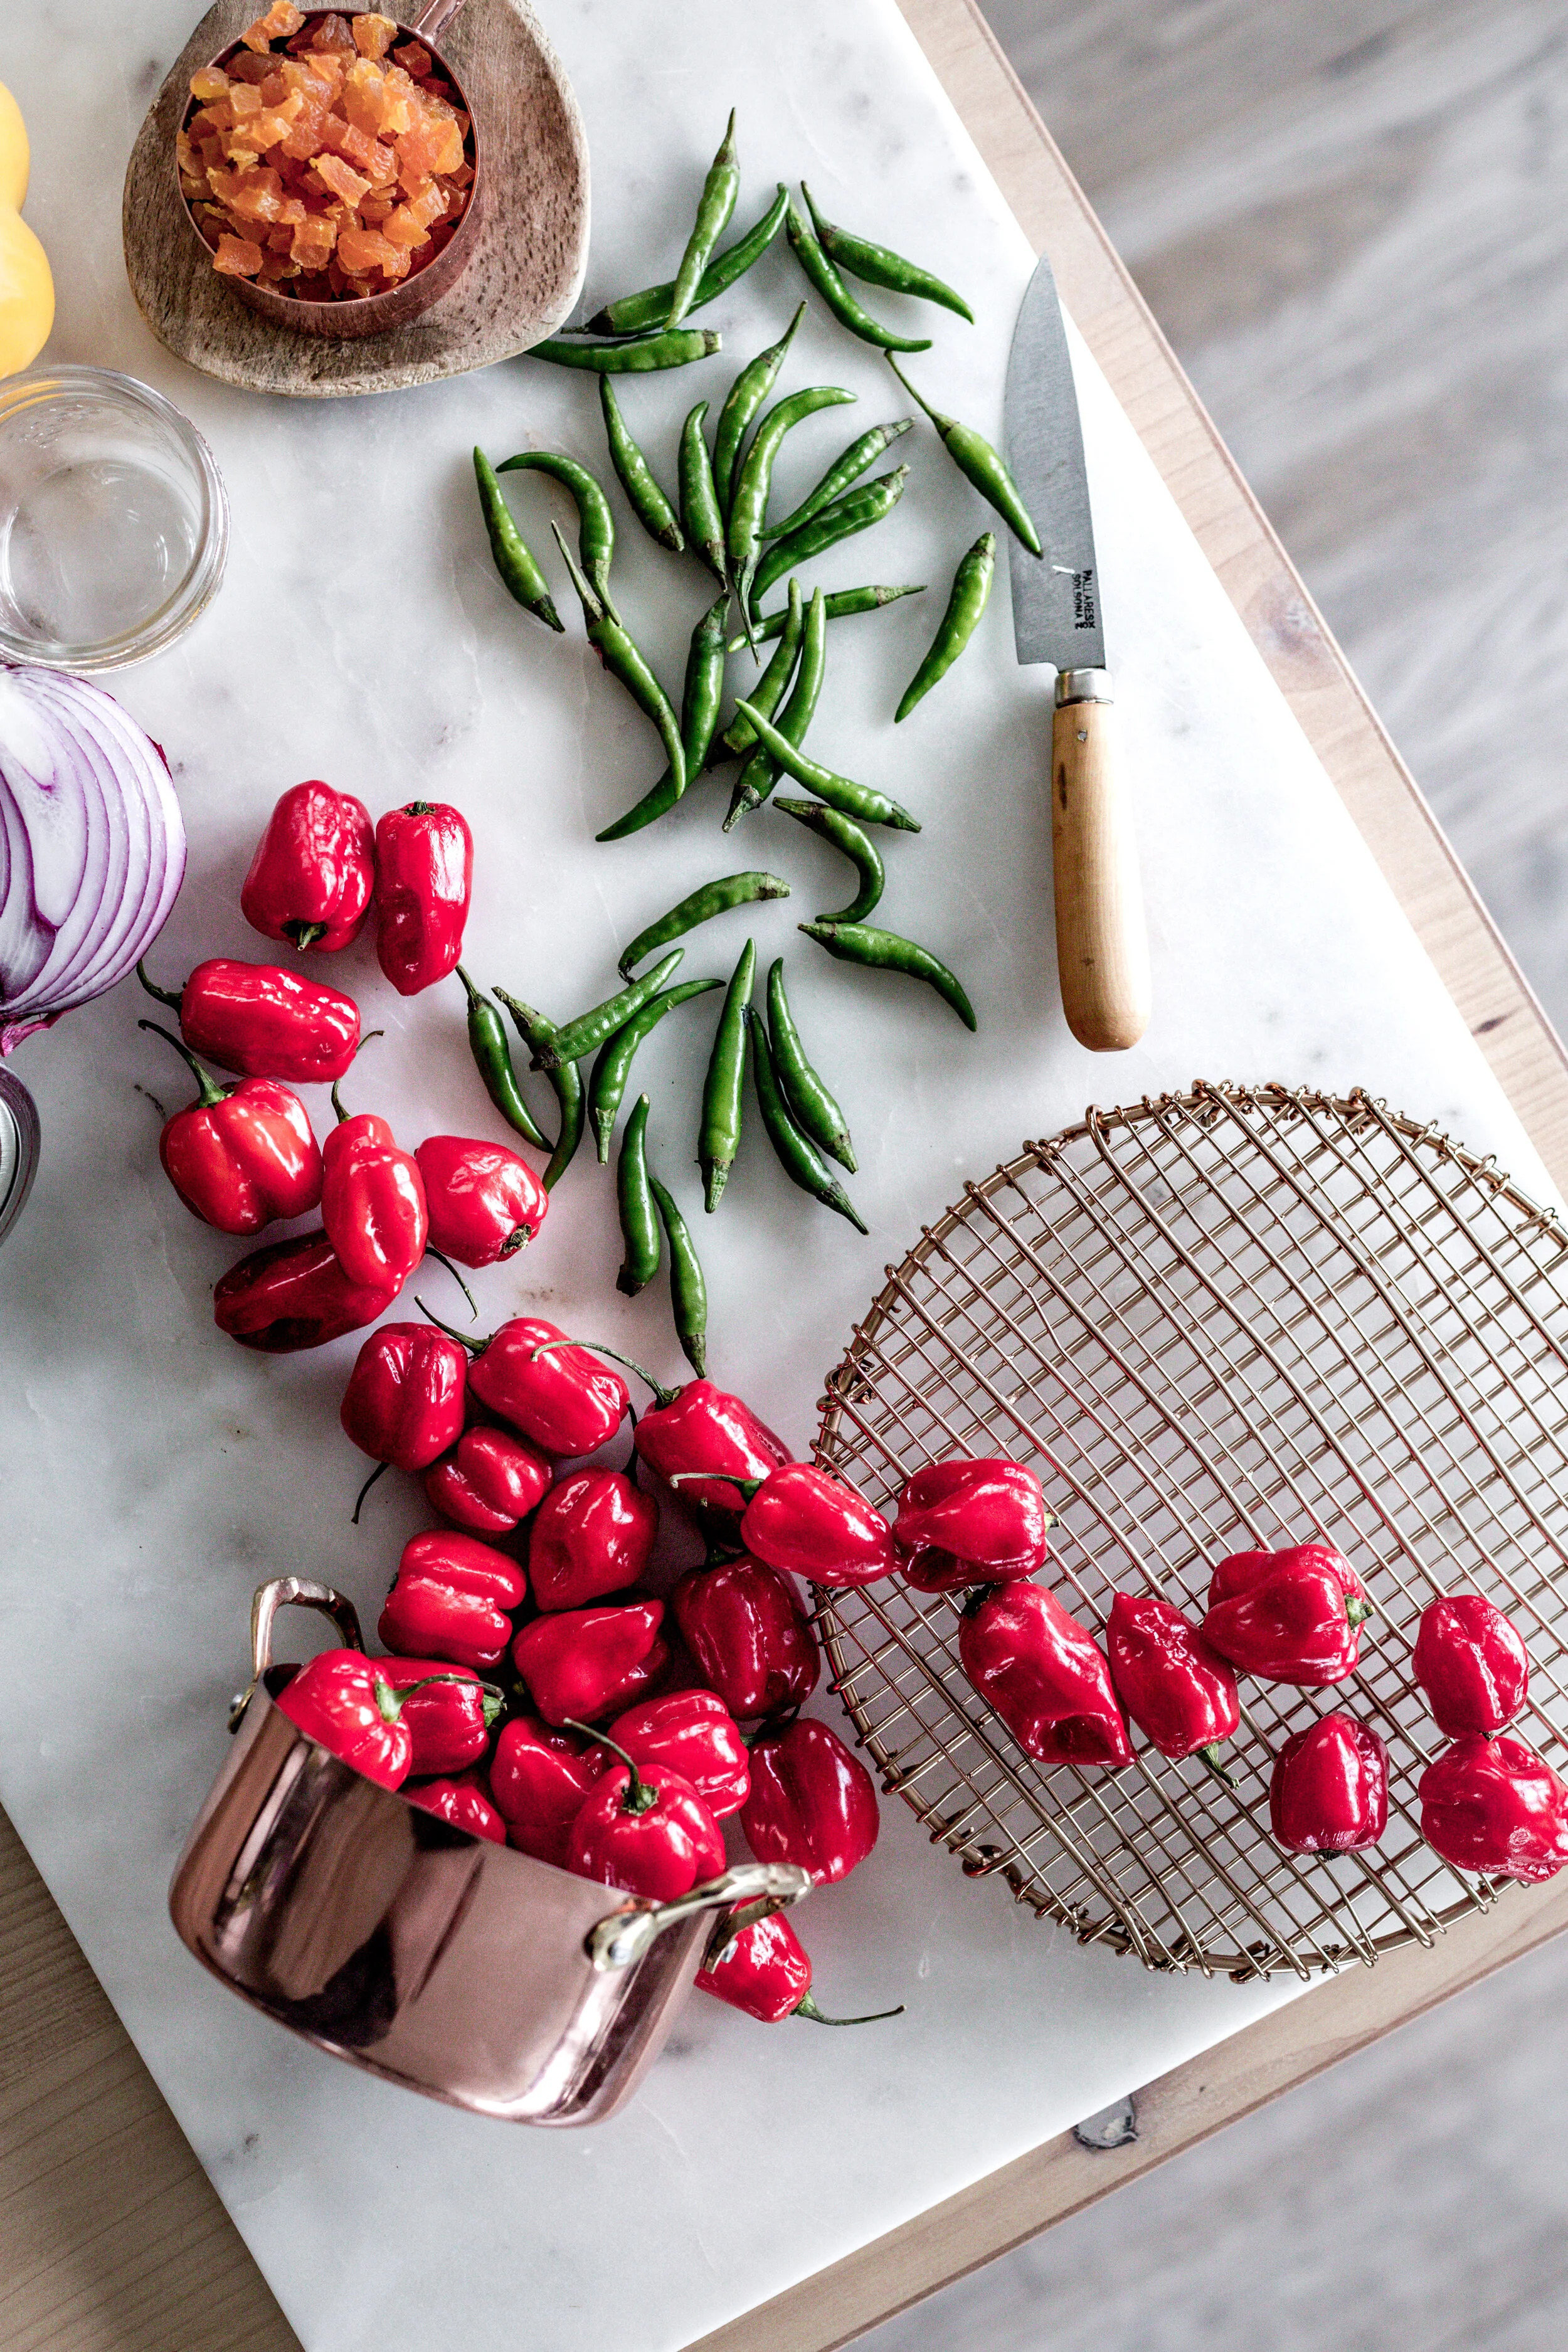
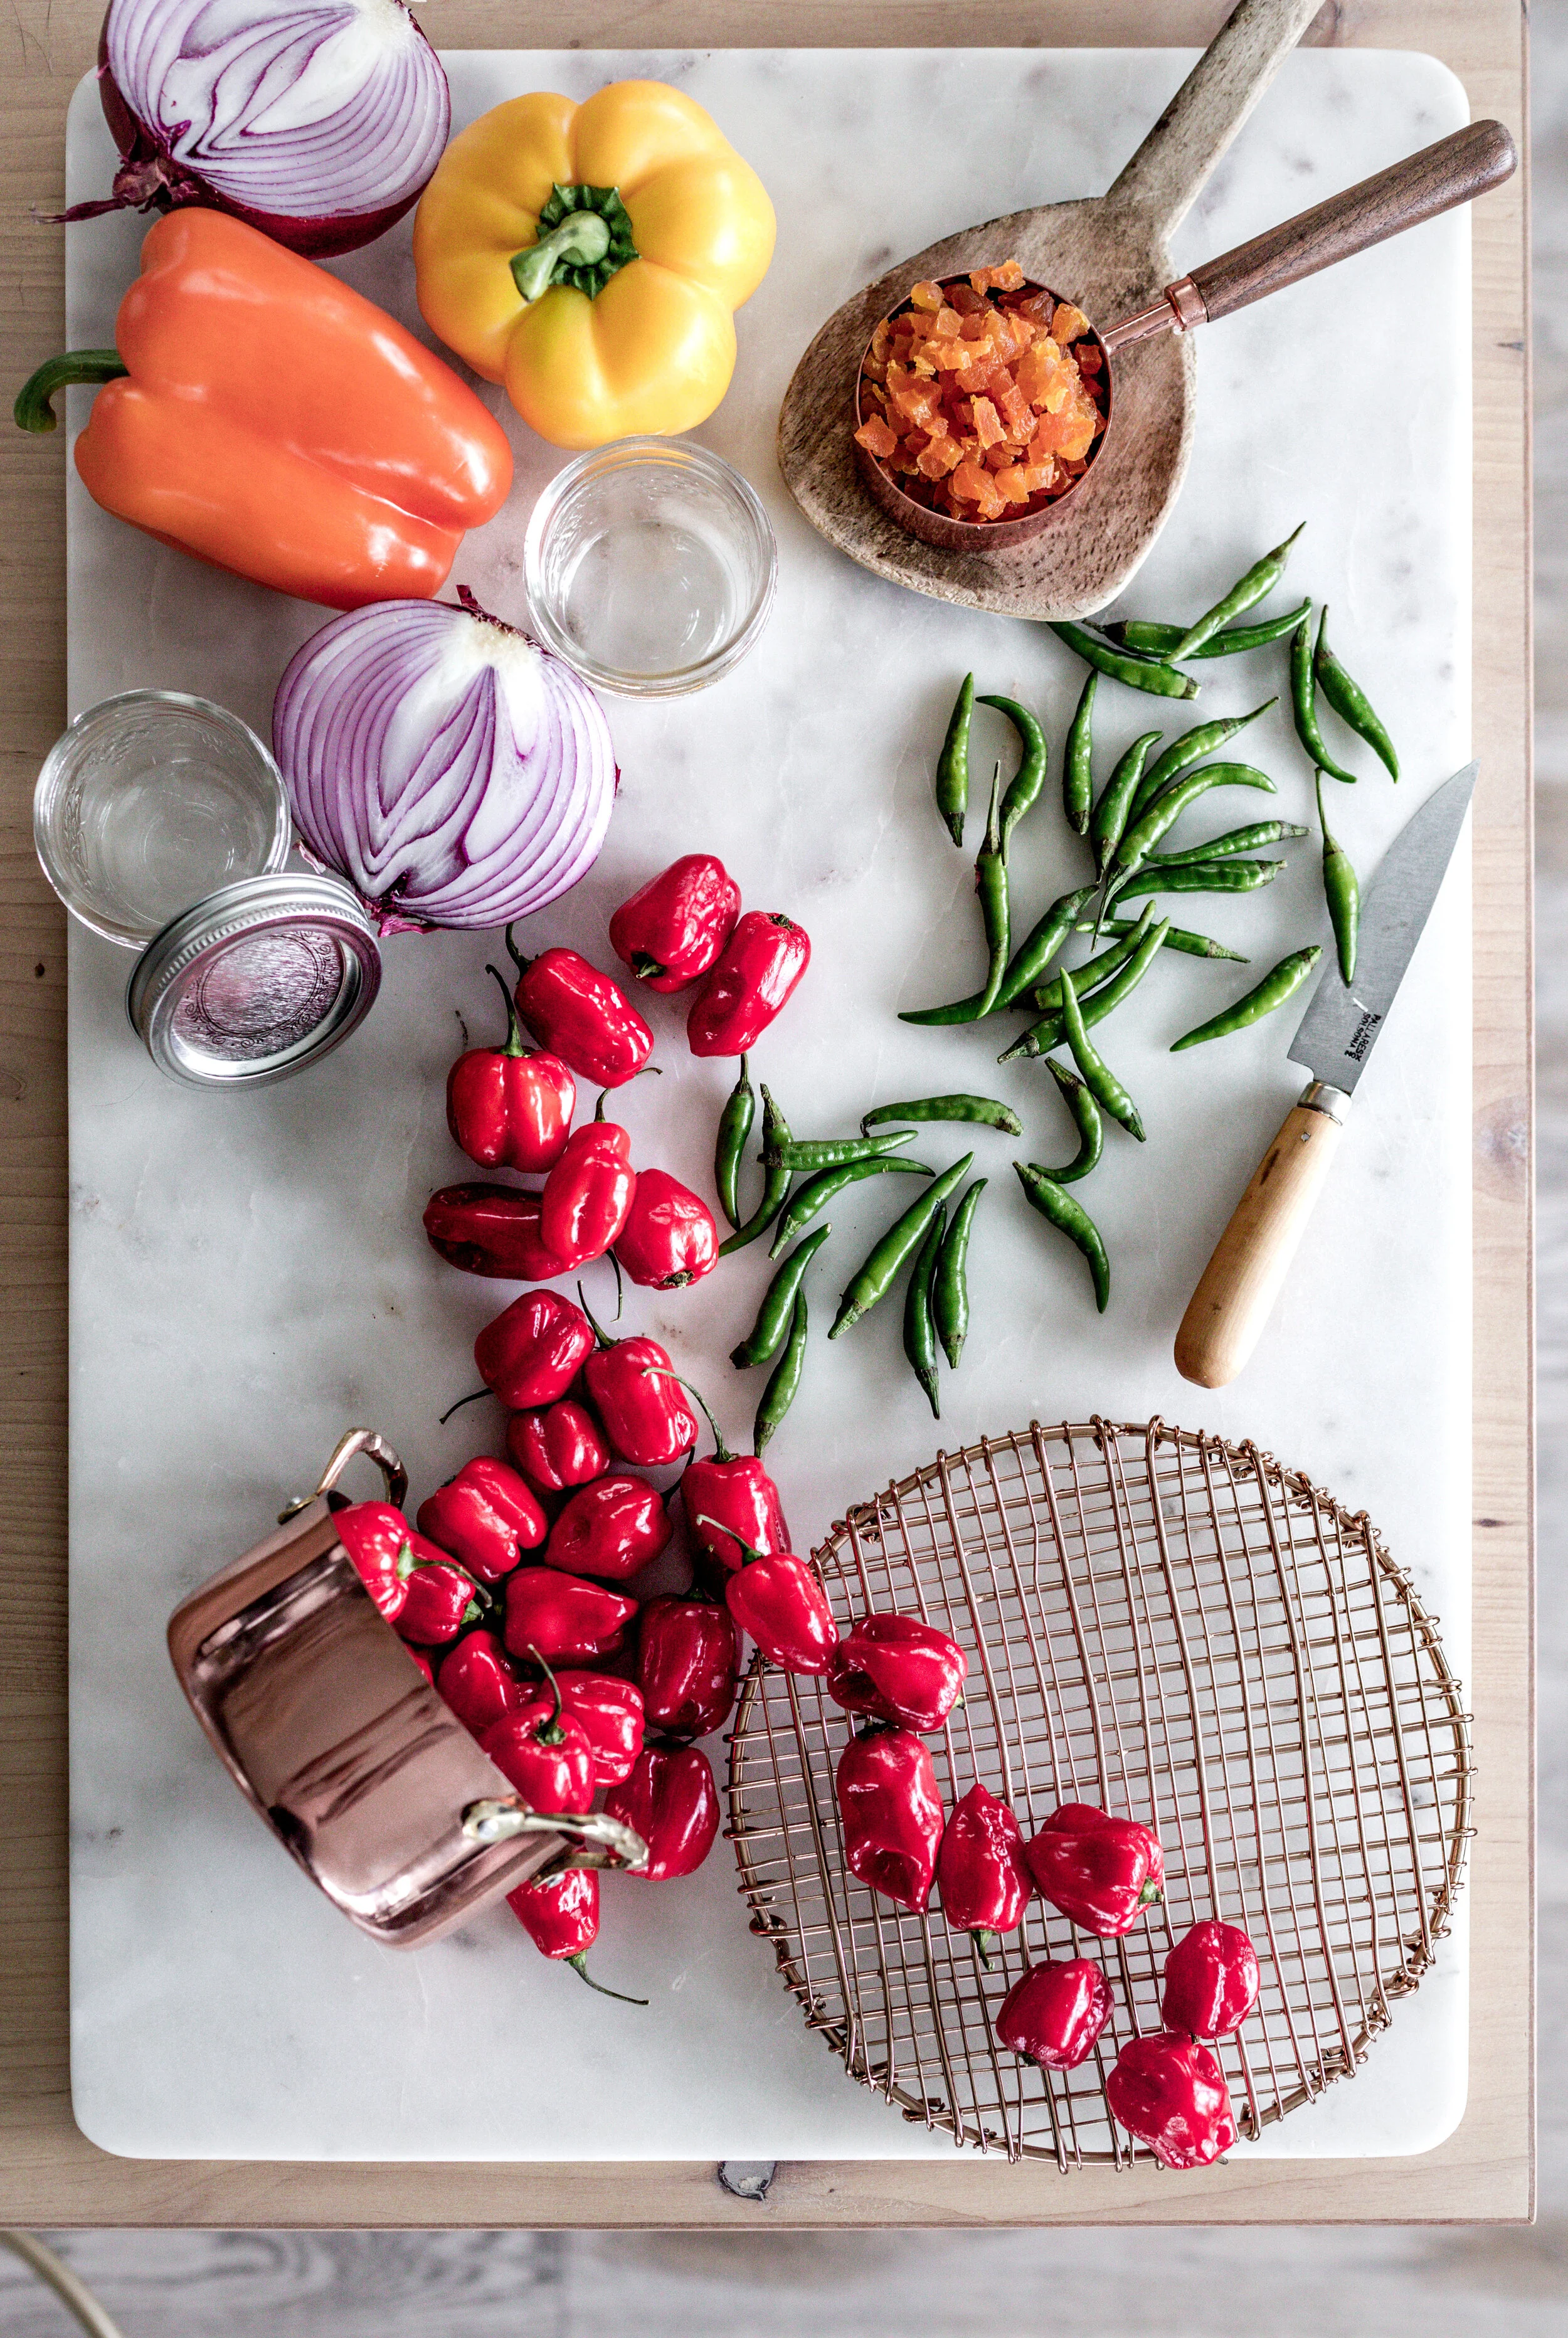
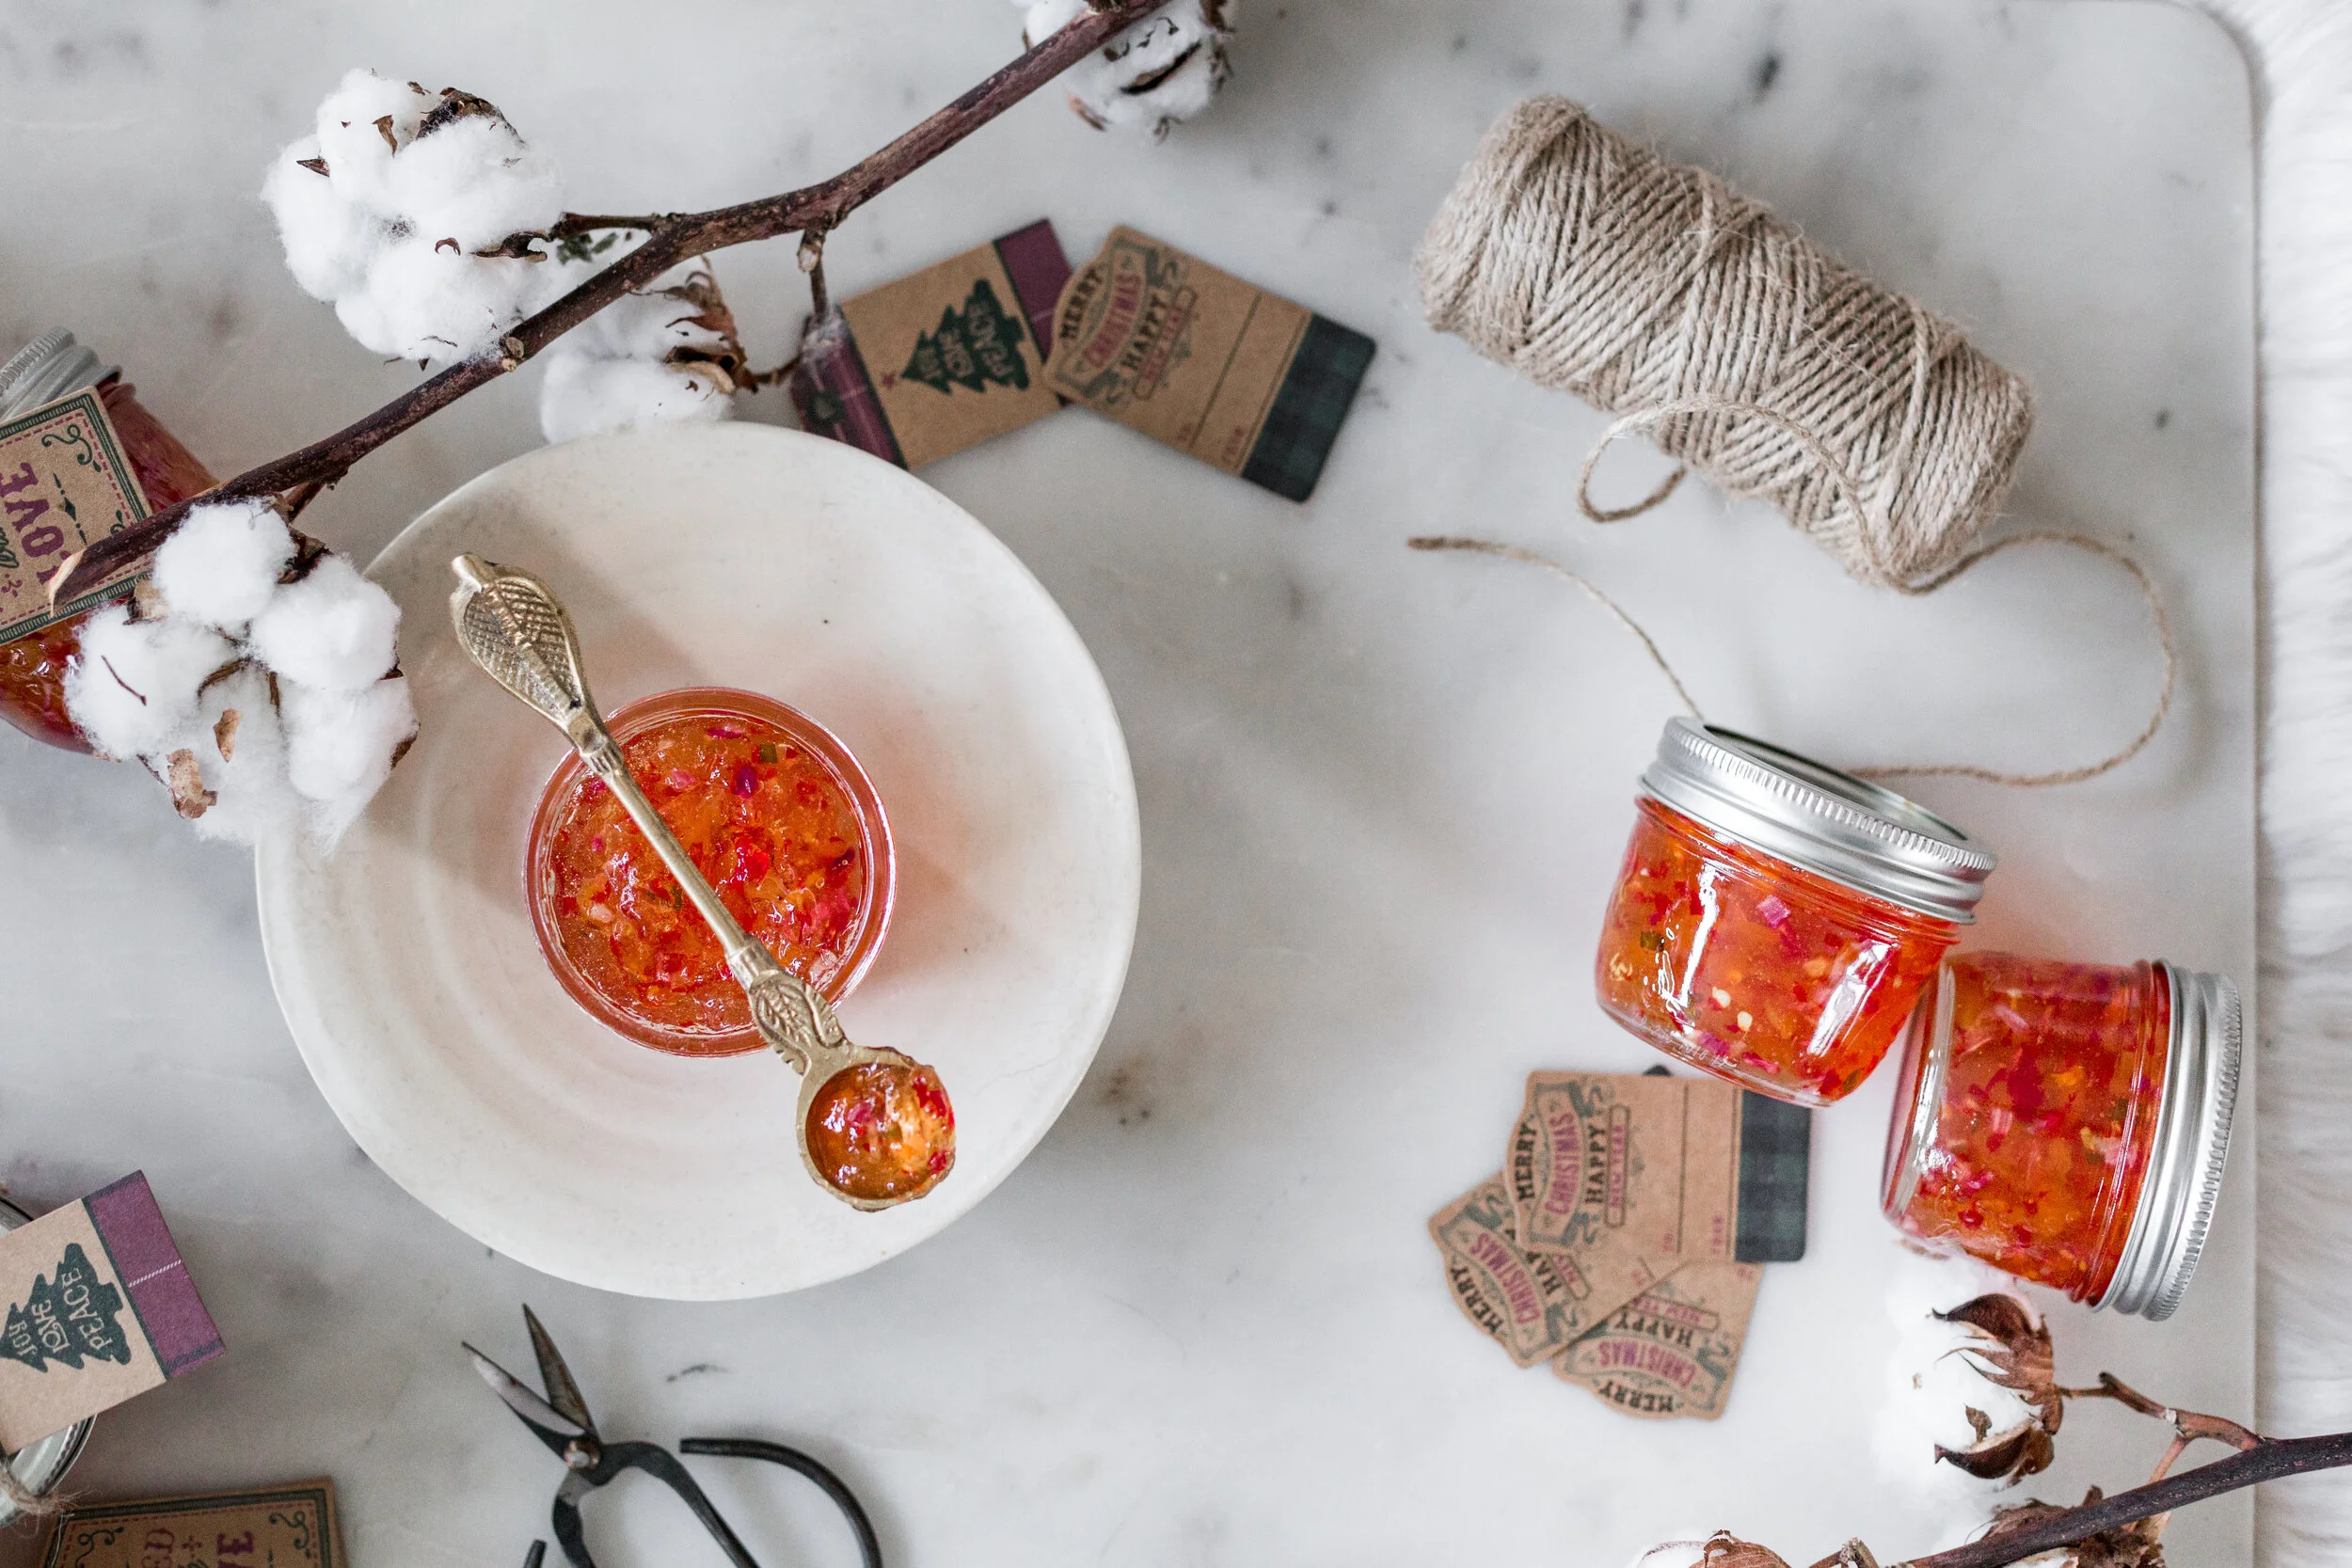
Alright lets get onto the recipe! Feel free to play around with the peppers you use. My Mom tends to switch up the kinds frequently. If you don’t want it super spicy I suggest leaving out the seeds or the really really hot peppers.
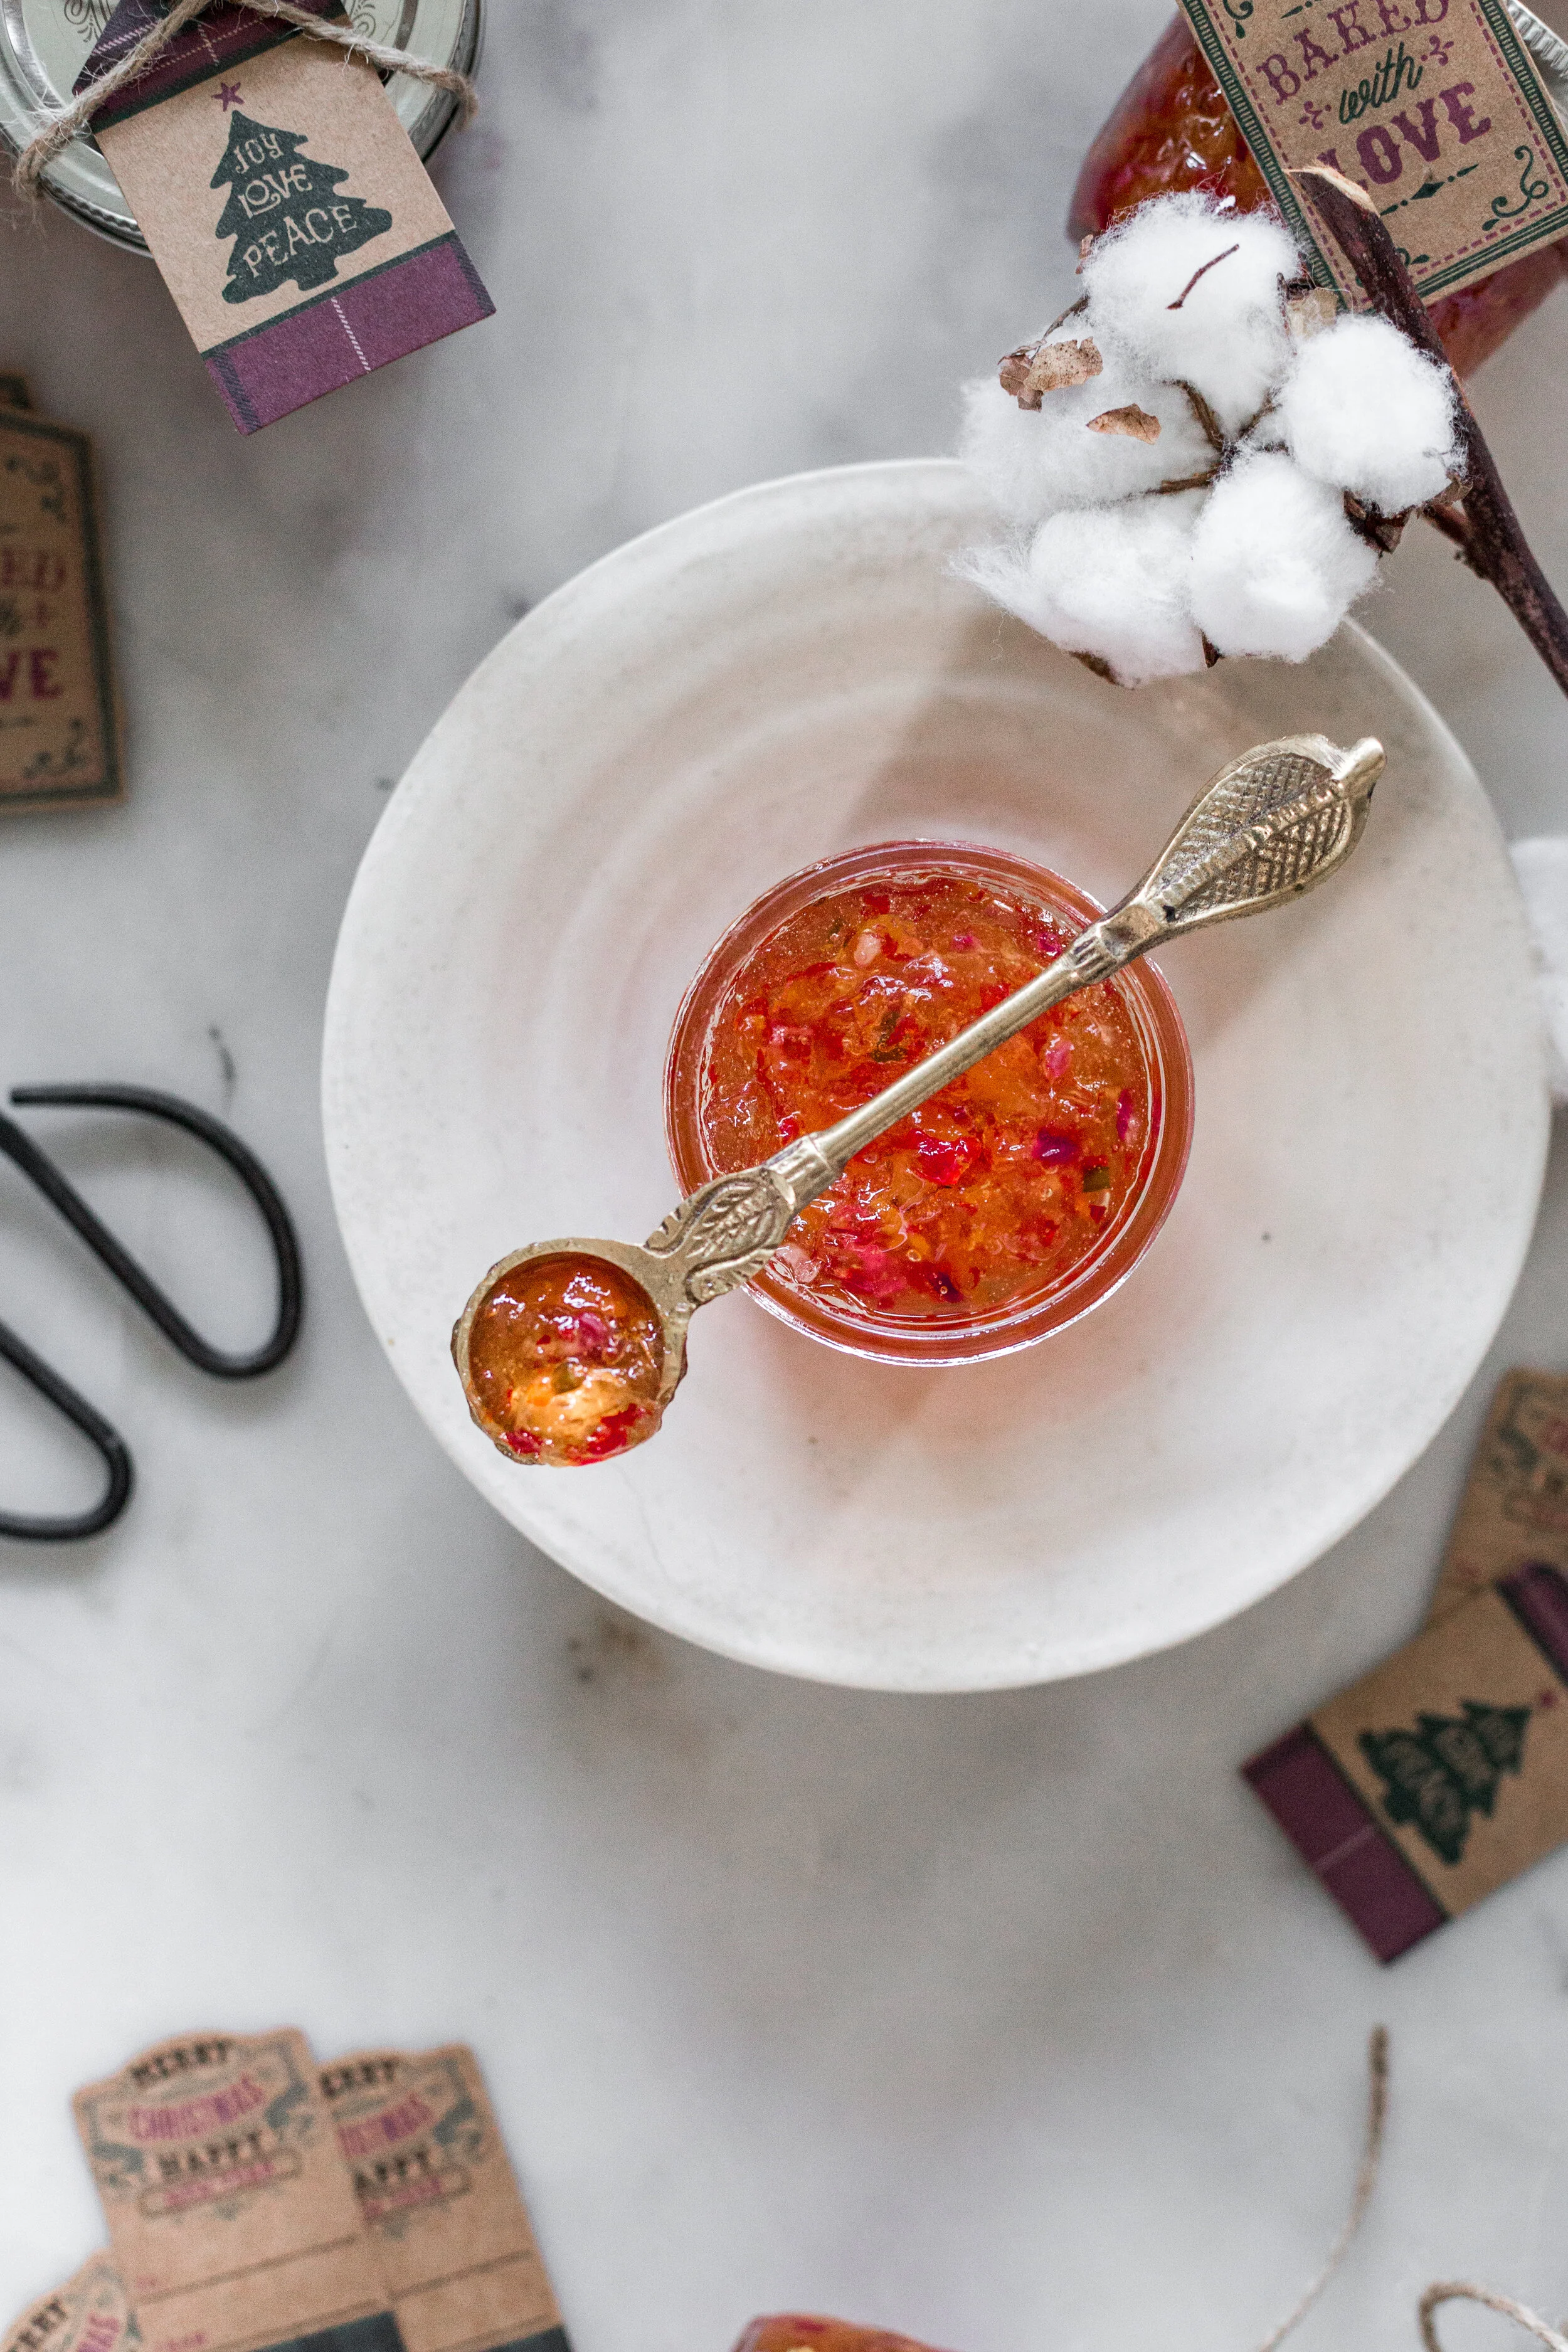
Personally I love this jelly served with cream cheese (it also helps to cut down on the heat), a spread of cream cheese on a cracker, a dollop of jelly and into your mouth! One 125 ml jar works great served on a charcuterie board with a stick of cream cheese.

Sweet & Spicy Pepper Jelly
Recipe makes approx. 54 125 ml jars
Ingredients
2 2/3 cups finely sliced dried apricots
6 cups white vinegar
2 cups finely diced red onion (approx 1 large onion)
2 cups finely diced sweet red pepper (or green or yellow or orange or a combo approx 3 peppers)
2 cups finely diced scotch bonnet/habanero peppers (approx 2 pints)
2/3 cups finely diced green chili peppers (approx 1 pint)
24 cups granulated sugar
8 pouches of liquid pectin
Directions
*This makes a large batch of jelly, feel free to cut the recipe in half.
First things first make sure your cans are sterile! (see above tips for this process).
Finely dice the apricots and add them to a large cocotte (or stock pot) with the vinegar; let soak for at least 4 hours.
Finely dice the peppers and onion by hand or you a food processor (you want everything approximately the same size).
If cutting the peppers by hand I highly recommend using gloves..
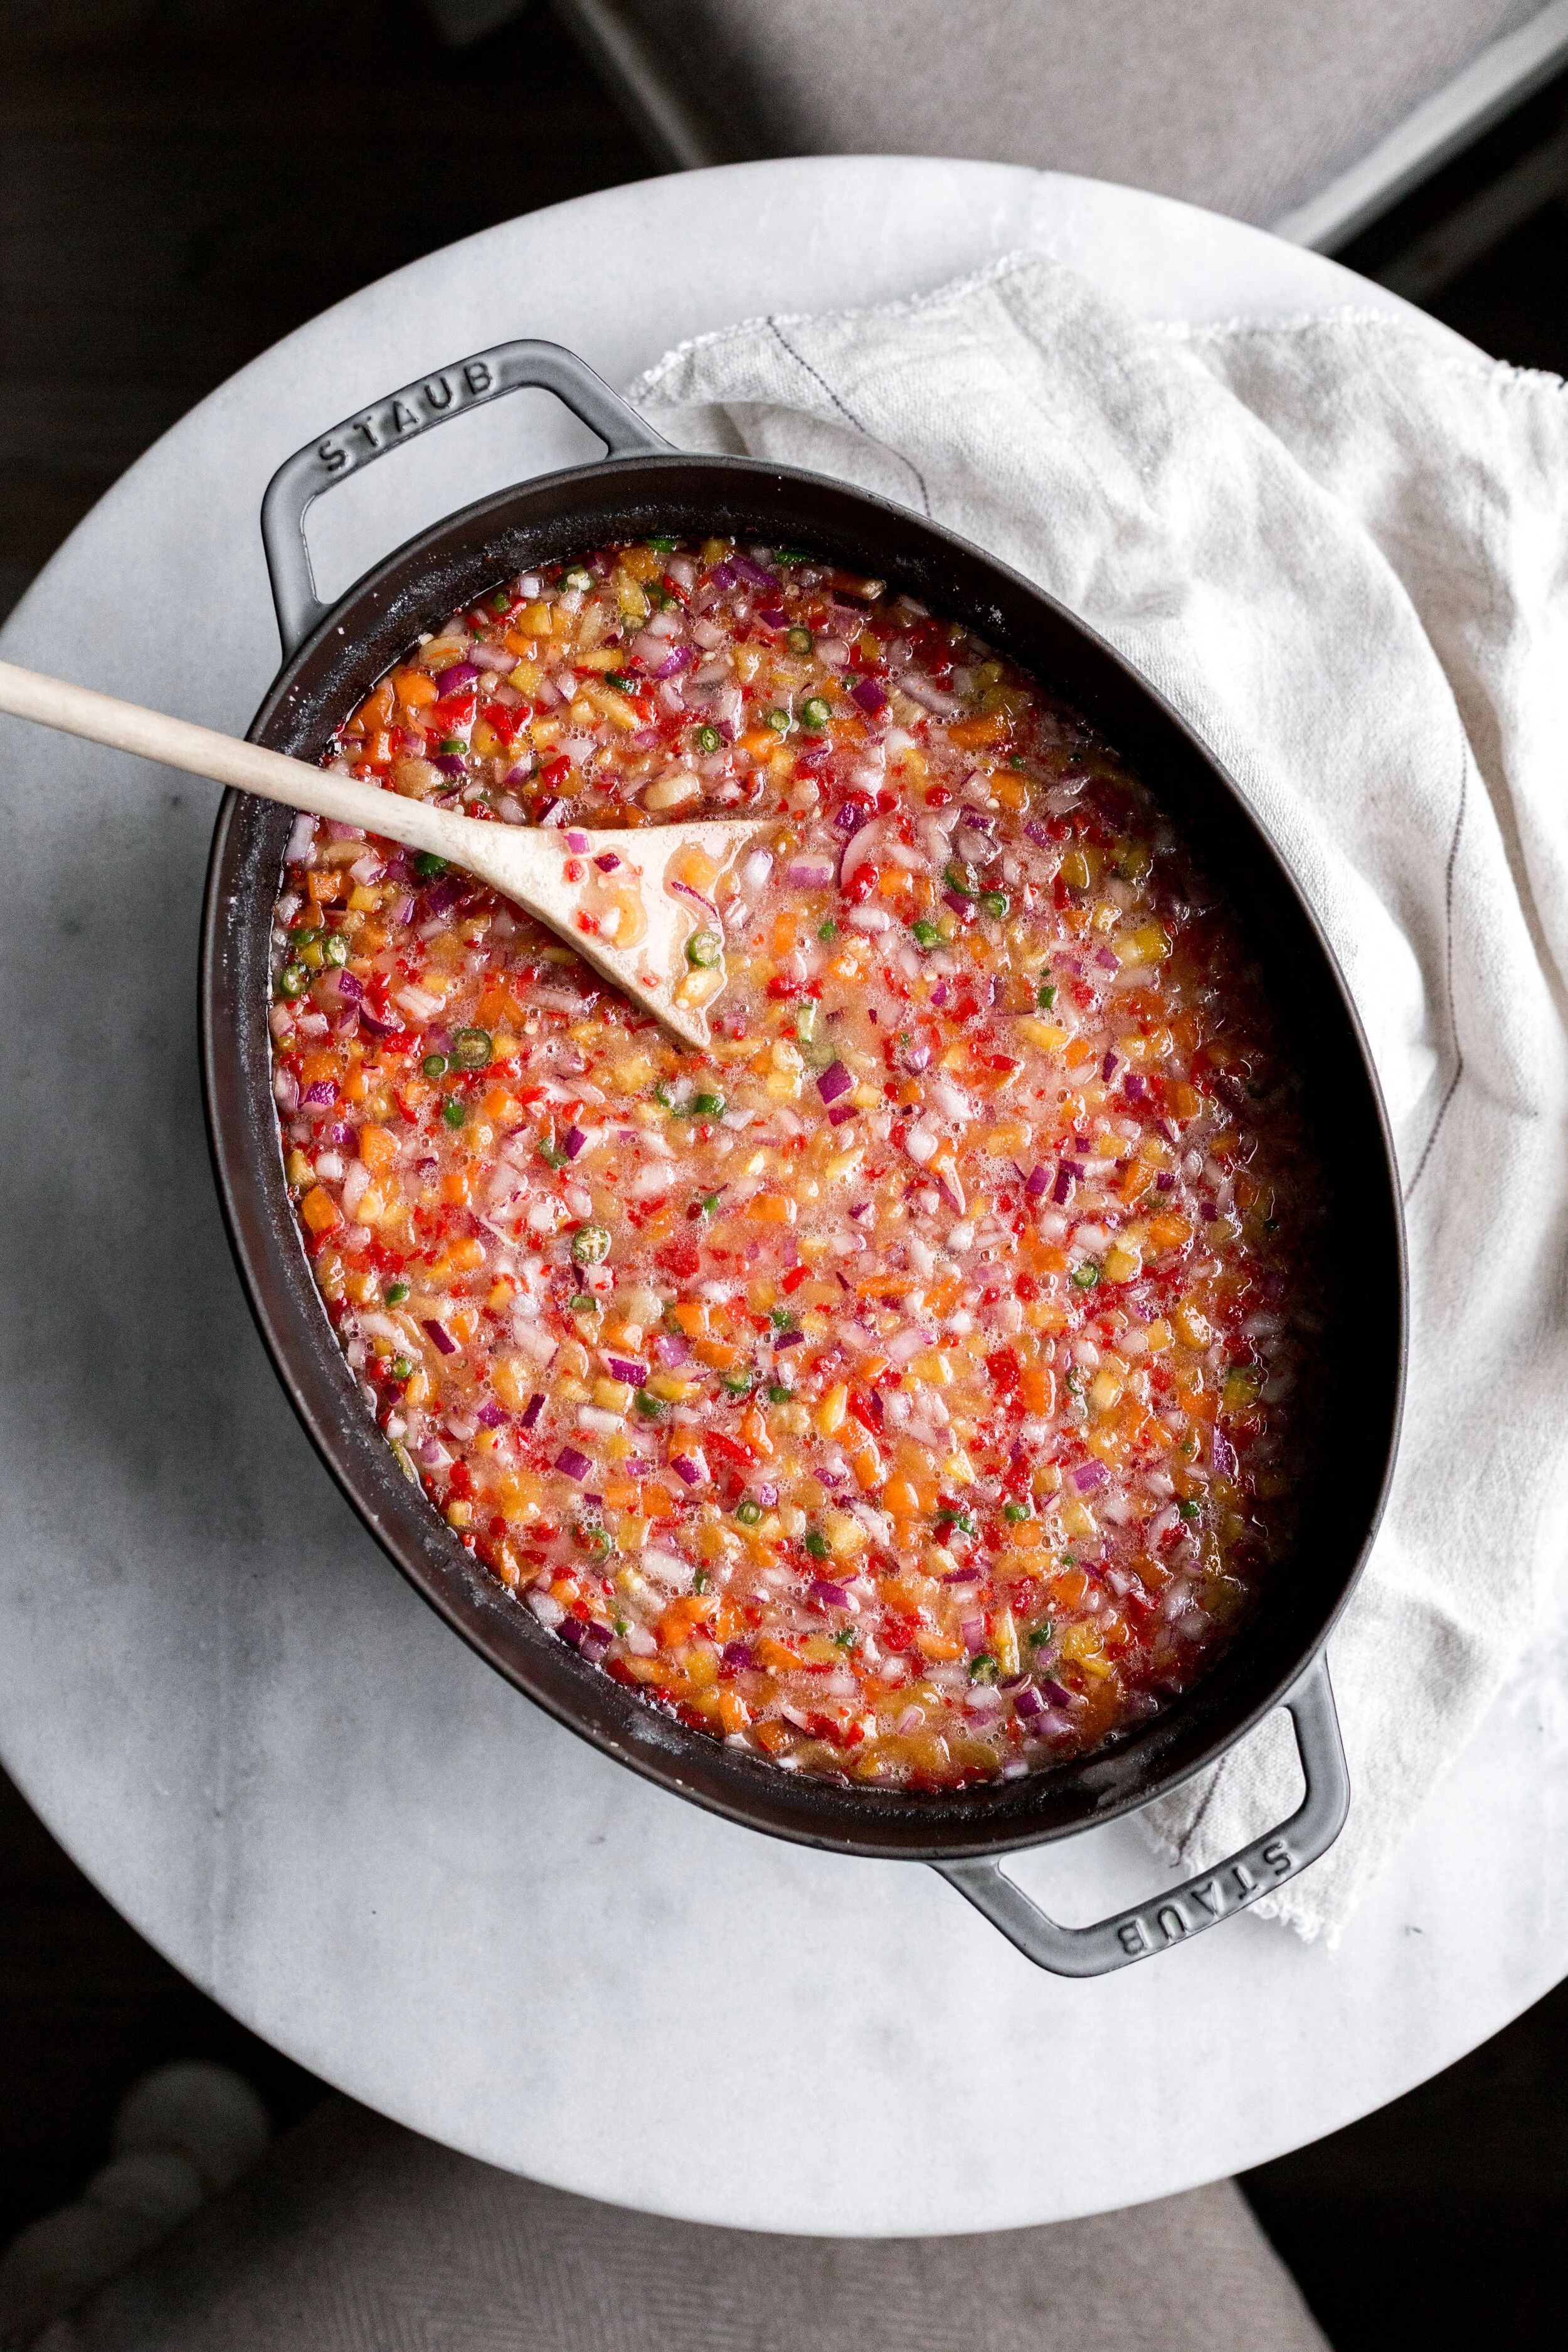
Once the apricots have soaked, add the peppers and onion to the pot, along with the sugar.
Bring the sugar, peppers, onion and apricots to a full rolling boil. Stirring constantly, once boiling, boil for 1 minute then remove from heat, add liquid pectin, and stir well.
Pour jelly into jars (we used the funnel in the canning tool to make this job super easy), dividing the jelly equally among jars and filling each jar to within 1/4 inch of top rim. Wipe rims and apply lids.
The next step is to seal the jars.
It is important to have your canner filled with water at a rolling boil prior to adding your jars. You want the water about 1-2 inches above the jars once they are placed in. Then you will let them boil for 15 minutes. Carefully remove jars (this is where another one of those canning tools come in very handy) from water and place on cooling rack. Repeat until all of the jars have boiled. Let jars sit overnight or until they are cool to the touch and the tops have popped (or gone concave).
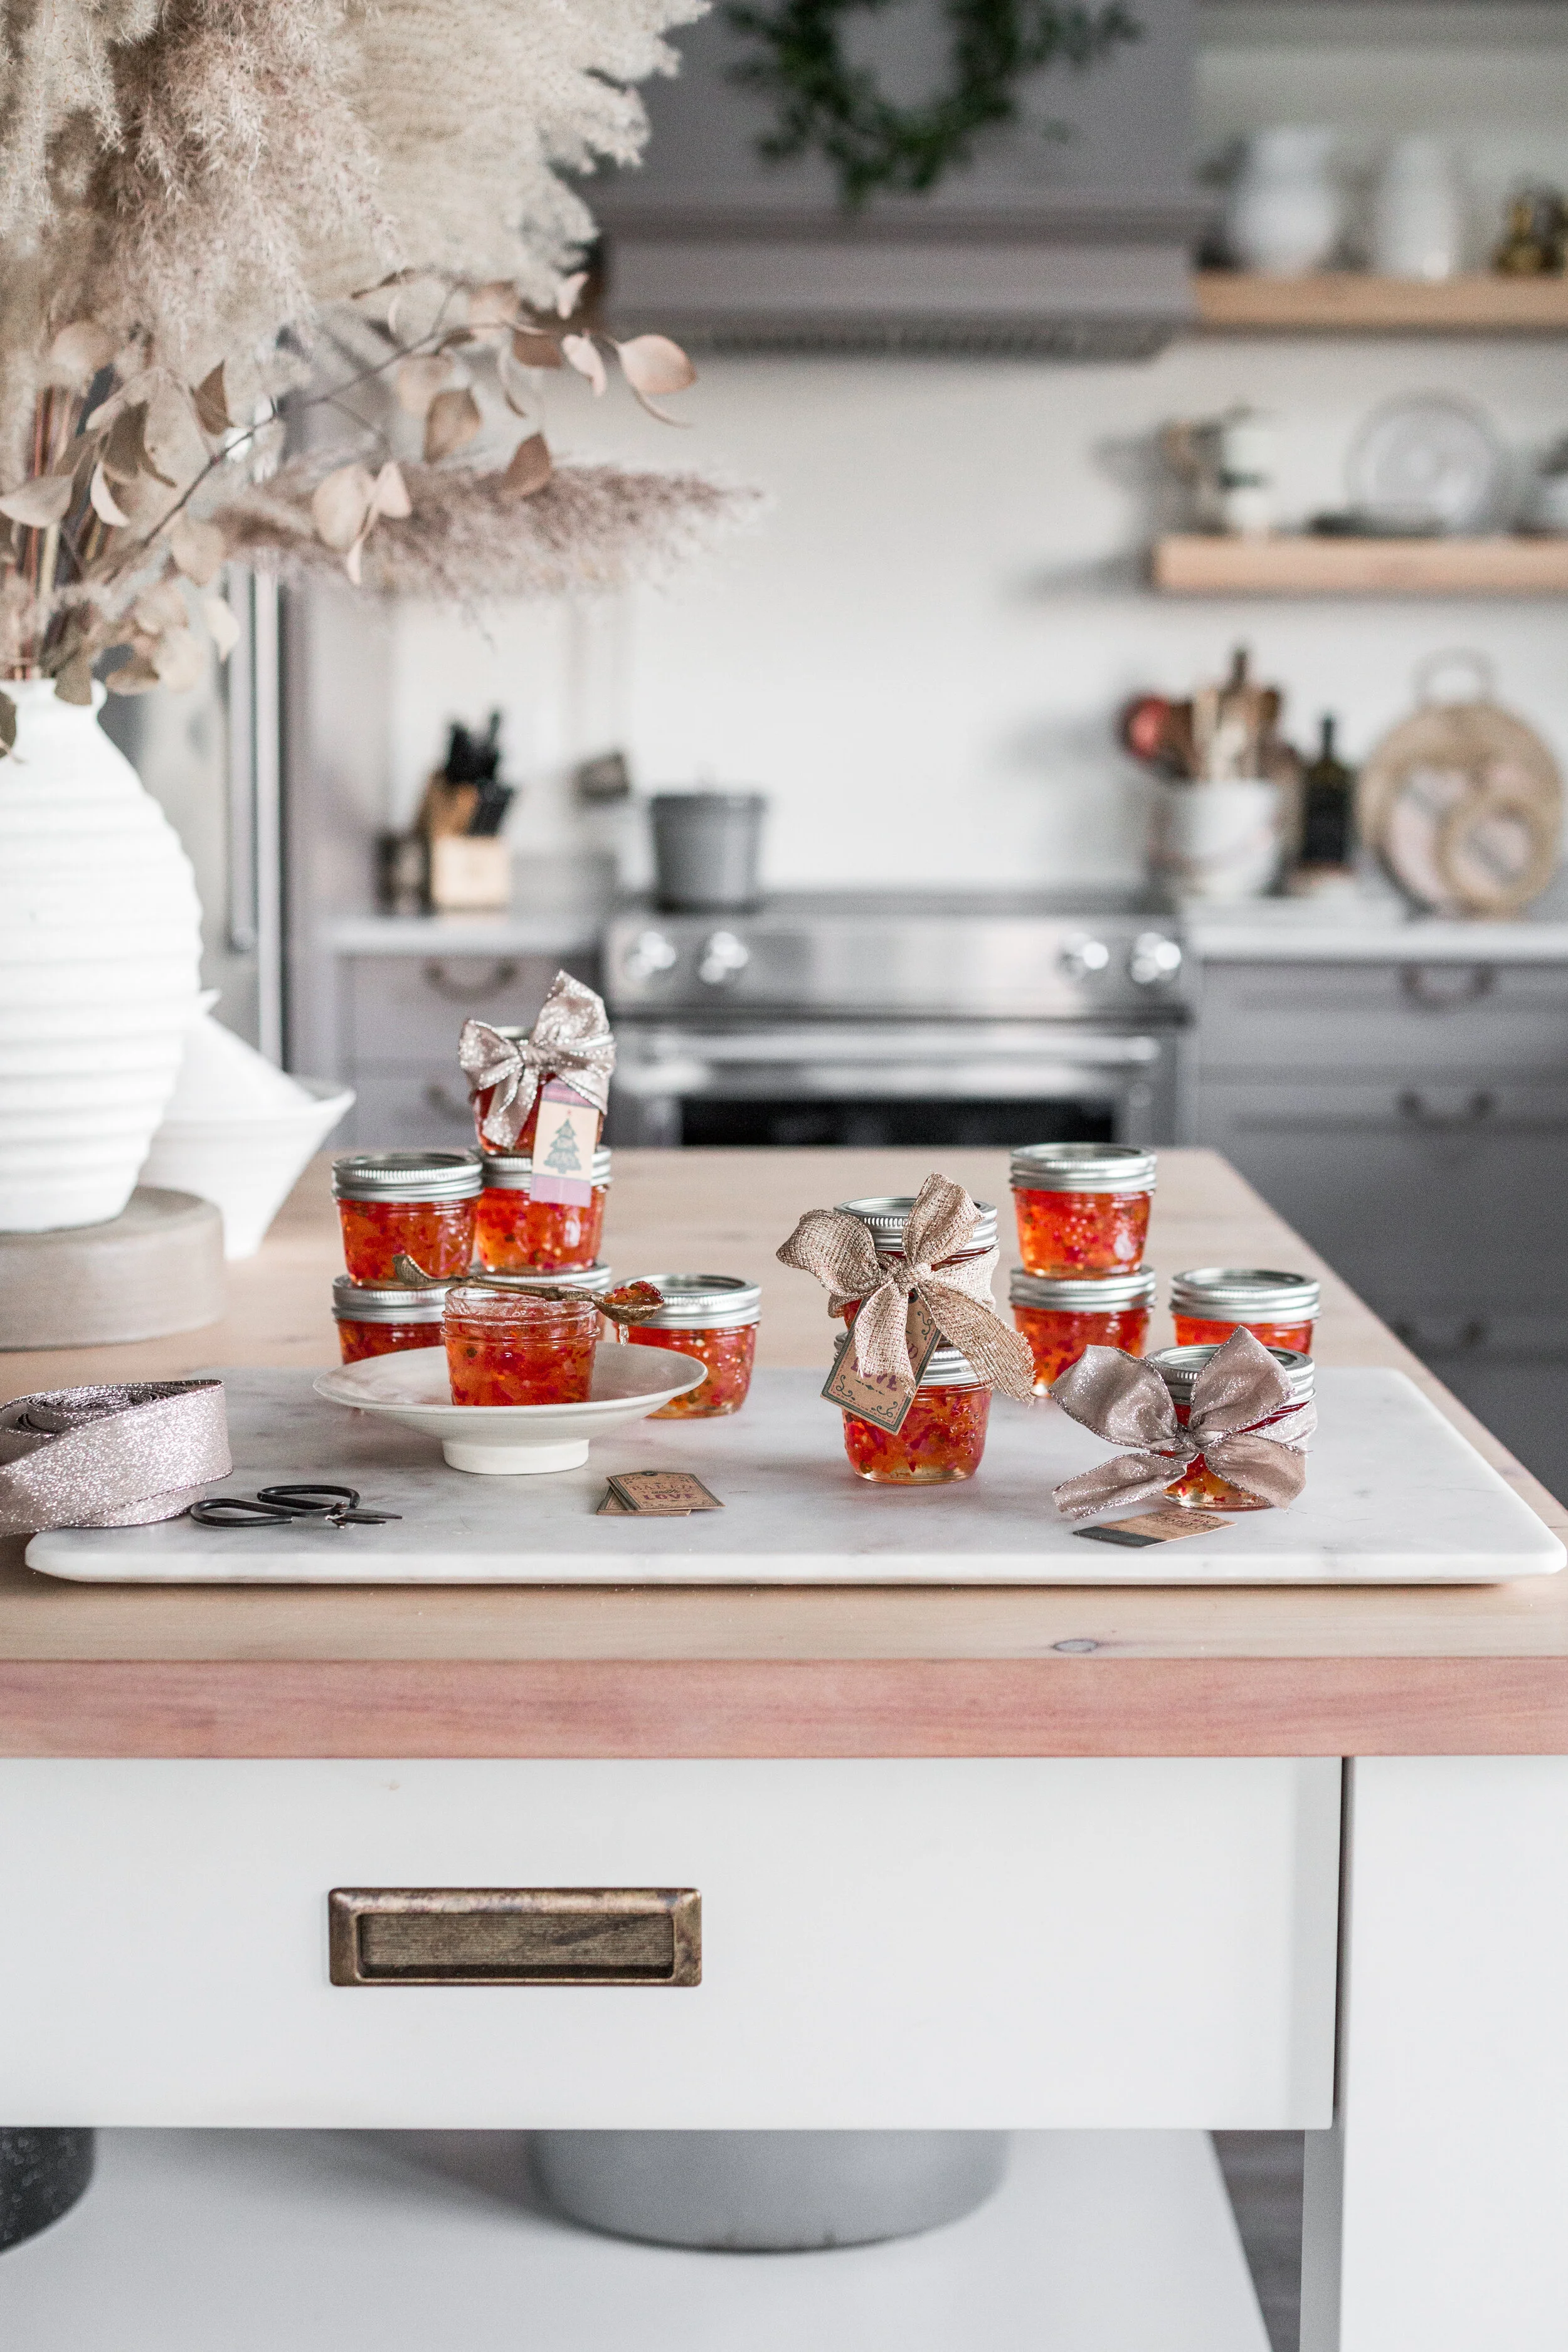
Store jelly in the pantry or hand-out to friends and family as a sweet little holiday gift. See in the above post for additional canning tips if you are stumped!